Why buy it when you can make it from scratch with just a few basic ingredients? Skip the can from the store and enjoy this homemade sweetened condensed milk that’s thick, creamy, and adds the perfect touch of sweetness to any recipe. Whether you’re baking, making coffee, or whipping up a dessert, this will take it to the next level!

What Is Sweetened Condensed Milk?
Sweetened condensed milk is simply milk that has been simmered down with sugar until it becomes thick, creamy, and deeply sweet. It’s a staple in so many desserts, from tres leches cake to fudge, and even in coffee drinks like Vietnamese iced coffee. The best part? You can make it yourself at home with just three simple ingredients!
Why Make It at Home?
Homemade always wins! Not only does it taste fresher, but it also lets you control the ingredients—no additives or preservatives, just pure goodness. Plus, if you ever find yourself out of the canned stuff, this recipe is a lifesaver! You probably already have all three ingredients on hand.
Ingredients You’ll Need
- Whole milk – The base of the recipe, giving it richness and creaminess.
- White sugar – Sweetens the milk while also helping it thicken.
- Vanilla extract – Adds a hint of flavor that makes it even more delicious.
The vanilla extract is completely optional, but I love the extra flavor it adds! You can opt out of it to make more traditional sweetened condensed milk.
How to Make Sweetened Condensed Milk
Start by grabbing a heavy-bottomed saucepan—this will help prevent scorching as the milk slowly thickens. Pour in the whole milk, add the sugar, and stir in the vanilla extract. Set the heat to medium-low and stir occasionally, making sure the sugar dissolves completely. Once the mixture is smooth, let it gently simmer. You don’t want it to boil, just a soft, steady simmer to allow the water content to evaporate and the milk to reduce.
As the mixture cooks, you’ll notice it thickening and turning a rich, creamy consistency. This process takes about 35 to 45 minutes, so be patient and stir occasionally to prevent any milk from sticking to the bottom of the pot. The key is to let it slowly reduce without rushing. If you notice a skin forming on top, just stir it back in. The milk will continue to thicken as it cools, so don’t worry if it’s not as thick as the canned version right away.
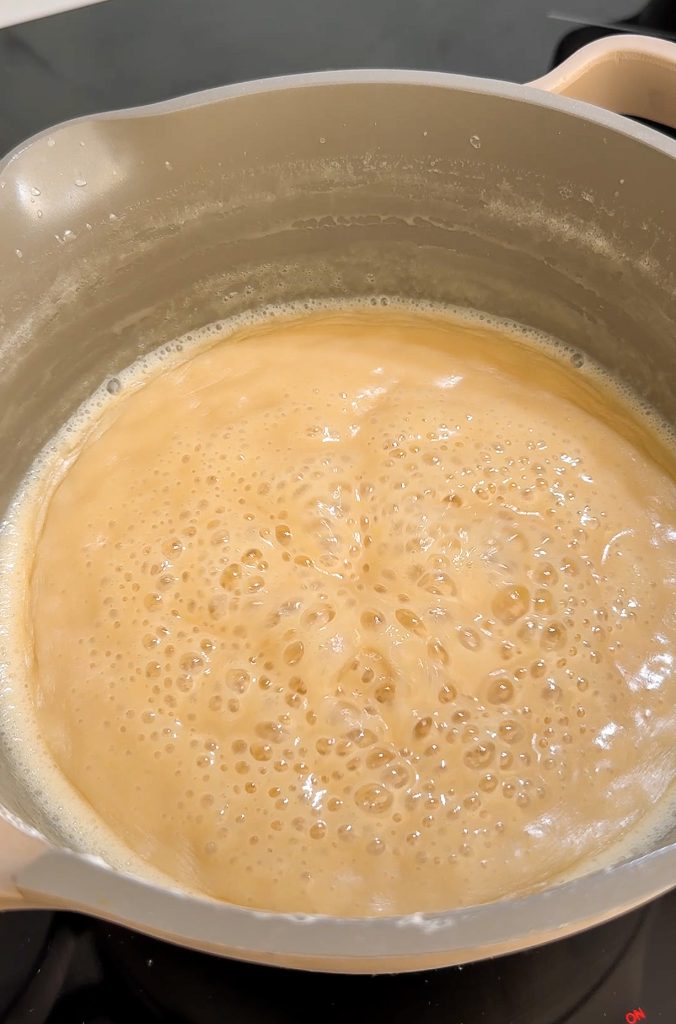
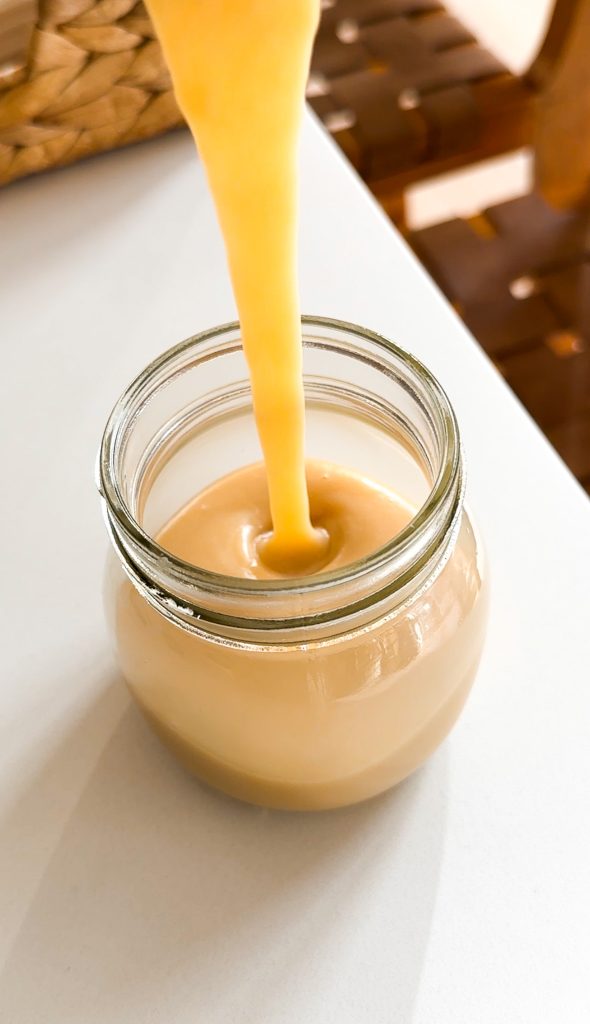
Once the milk has reduced by about half and has that signature silky texture, remove it from the heat and let it cool completely. As it sits, it will thicken even more, giving you that perfect, sweet, velvety consistency. Transfer it to an airtight container and store it in the fridge, where it will keep for 1 to 2 weeks.
Ways to Use It
- Baking – Essential for making rich desserts like flan, tres leches cake, and fudge.
- Coffee & Tea – Perfect for Vietnamese iced coffee, Thai tea, or homemade lattes.
- Drizzled Over Desserts – A dreamy topping for pancakes, waffles, or fruit.
- Homemade Ice Cream – No-churn ice cream gets its magic from this ingredient!
How to Store It
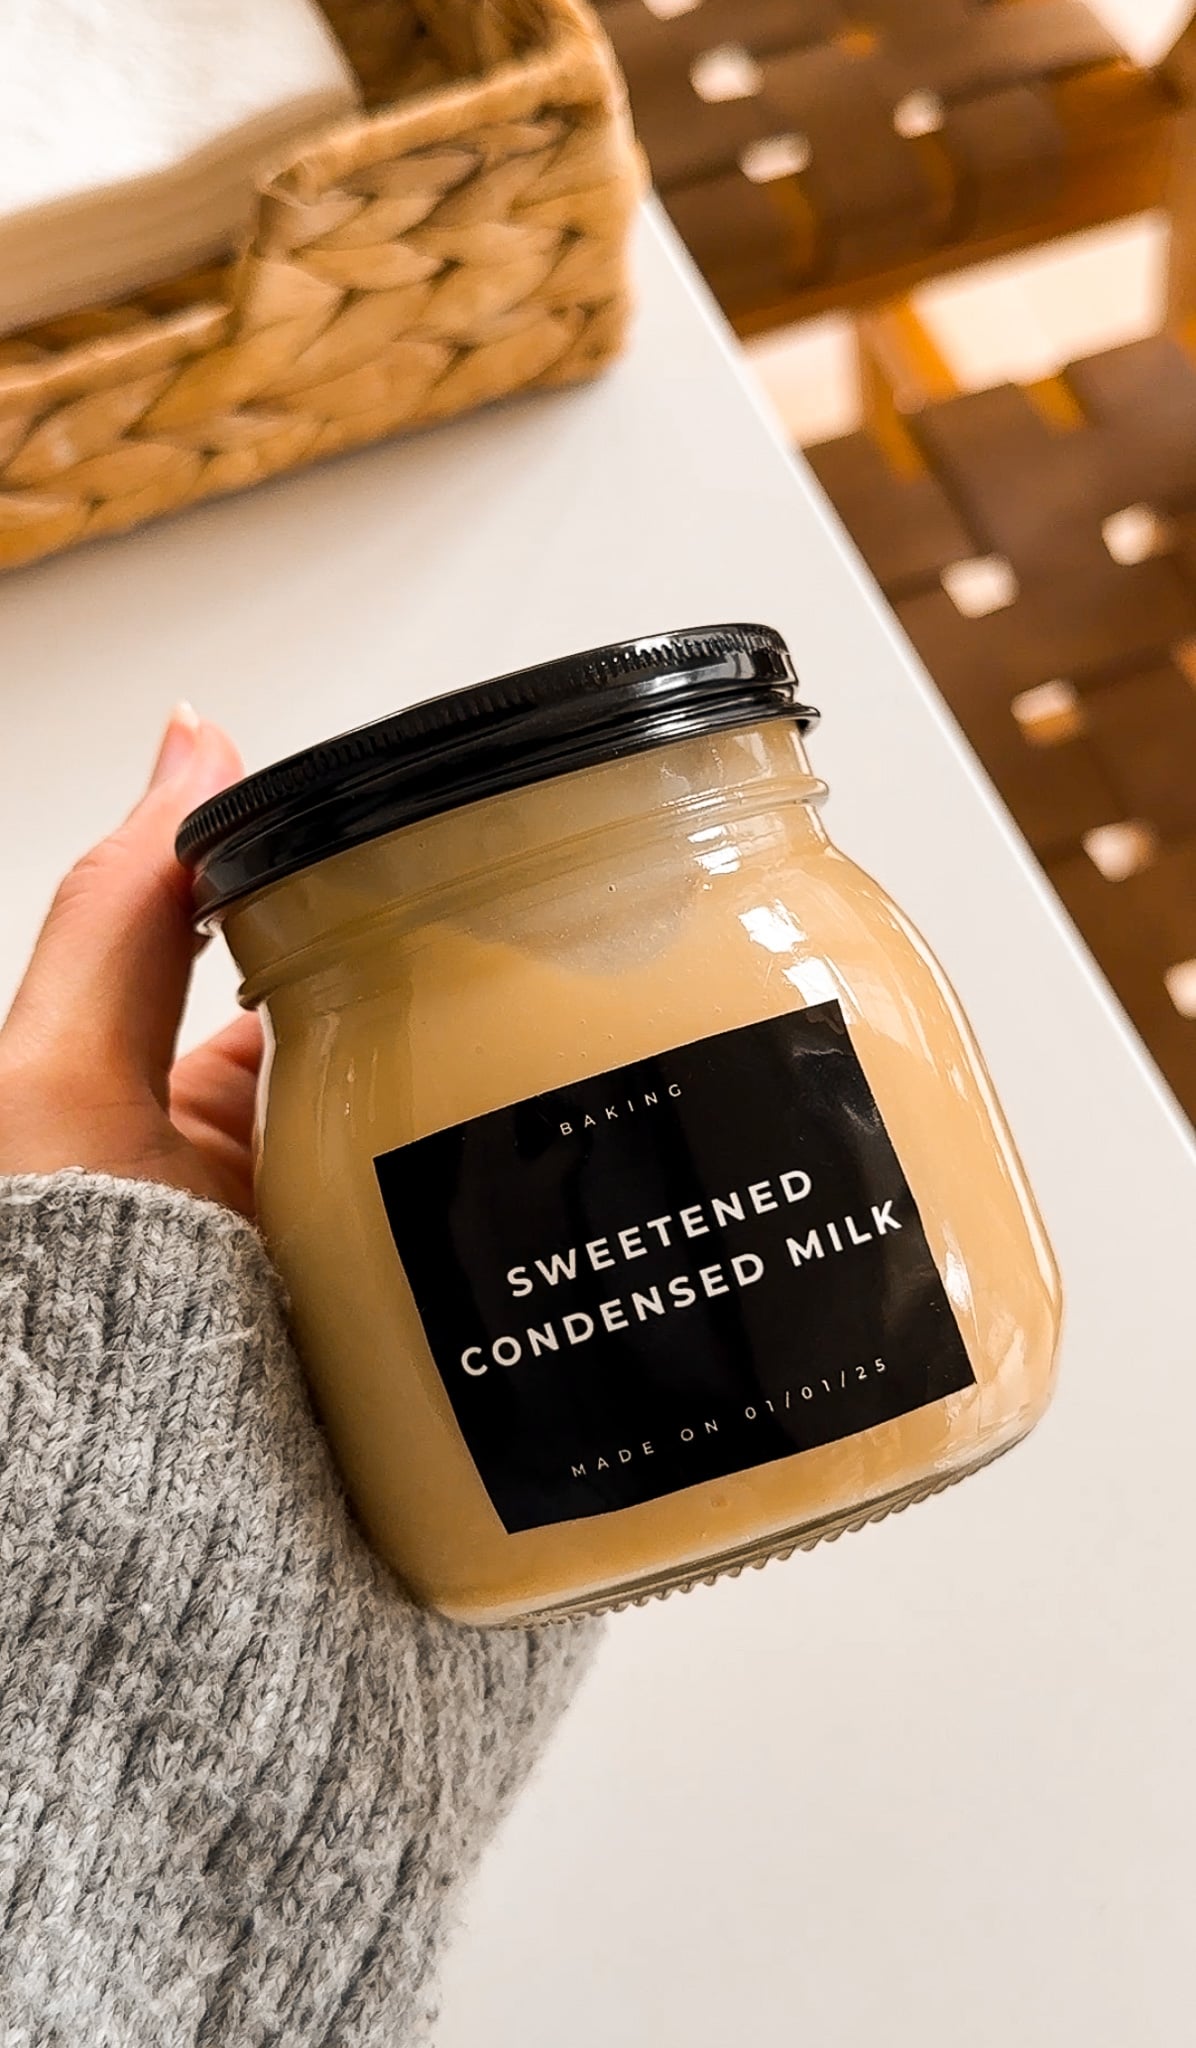
Once your homemade sweetened condensed milk has cooled to room temperature, transfer it to an airtight container. Store it in the fridge, where it will keep for 1 to 2 weeks. The milk will thicken as it cools, and if it becomes too thick after sitting in the fridge, simply warm it up slightly by stirring in a bit of milk to reach your desired consistency. Always store it in a clean, sealed container to maintain its freshness and prevent any contamination.
If you’re not planning to use it within a week or two, you can freeze it! Just portion it into smaller containers or freezer bags, leaving some room for expansion. When you’re ready to use it, thaw it overnight in the fridge and give it a good stir to bring it back to that creamy texture.
Tips for the Best Results
Patience is key! Letting the milk simmer slowly is what creates that thick, luscious texture. Stir every so often to prevent any scorching or sticking, and always use a heavy-bottomed pot to maintain even heat. If you need a dairy-free alternative, you can swap the whole milk for full-fat coconut milk, but keep in mind the flavor will be slightly different.
Once you try making your own sweetened condensed milk, you’ll never go back to store-bought. It’s easy, delicious, and so versatile!
Looking to Make More From Scratch? Try These Recipes Out!
- Homemade Mozzarella Cheese
- Mayonaisse from Scratch
- Ketchup from Scratch
- Homemade Butter
- Potato Chips from Scratch
If you tried this recipe and loved it, drop by down below and let me know how you liked it with a rating and comment! Feel free to also leave a question there about this recipe and I’ll get right back to it.
To see more recipes and behind-the-scenes, follow along on Instagram and Youtube! I’m also now on Pinterest pinning away so stop by and see what’s up.
Sweetened Condensed Milk
Ingredients
- 4 cups whole milk
- 1 1/3 cups white sugar
- 2 teaspoons vanilla extract
Instructions
- In a saucepan over medium-low heat, combine the milk, sugar, and vanilla extract. Stir until the sugar is fully dissolved.
- Let the mixture gently simmer (do not boil) for about 35 to 45 minutes, stirring occasionally, until it reduces by about half and thickens slightly.
- Keep an eye on the mixture to prevent it from scorching or forming a skin on top.
- Once thickened, remove from heat and let it cool completely; it will continue to thicken as it cools.
- Transfer to an airtight container and store in the fridge for up to a week.
Did You Make This Recipe?
If you make this recipe, leave a comment below and let me know how it turns out. I love hearing from you!



Rate & Review