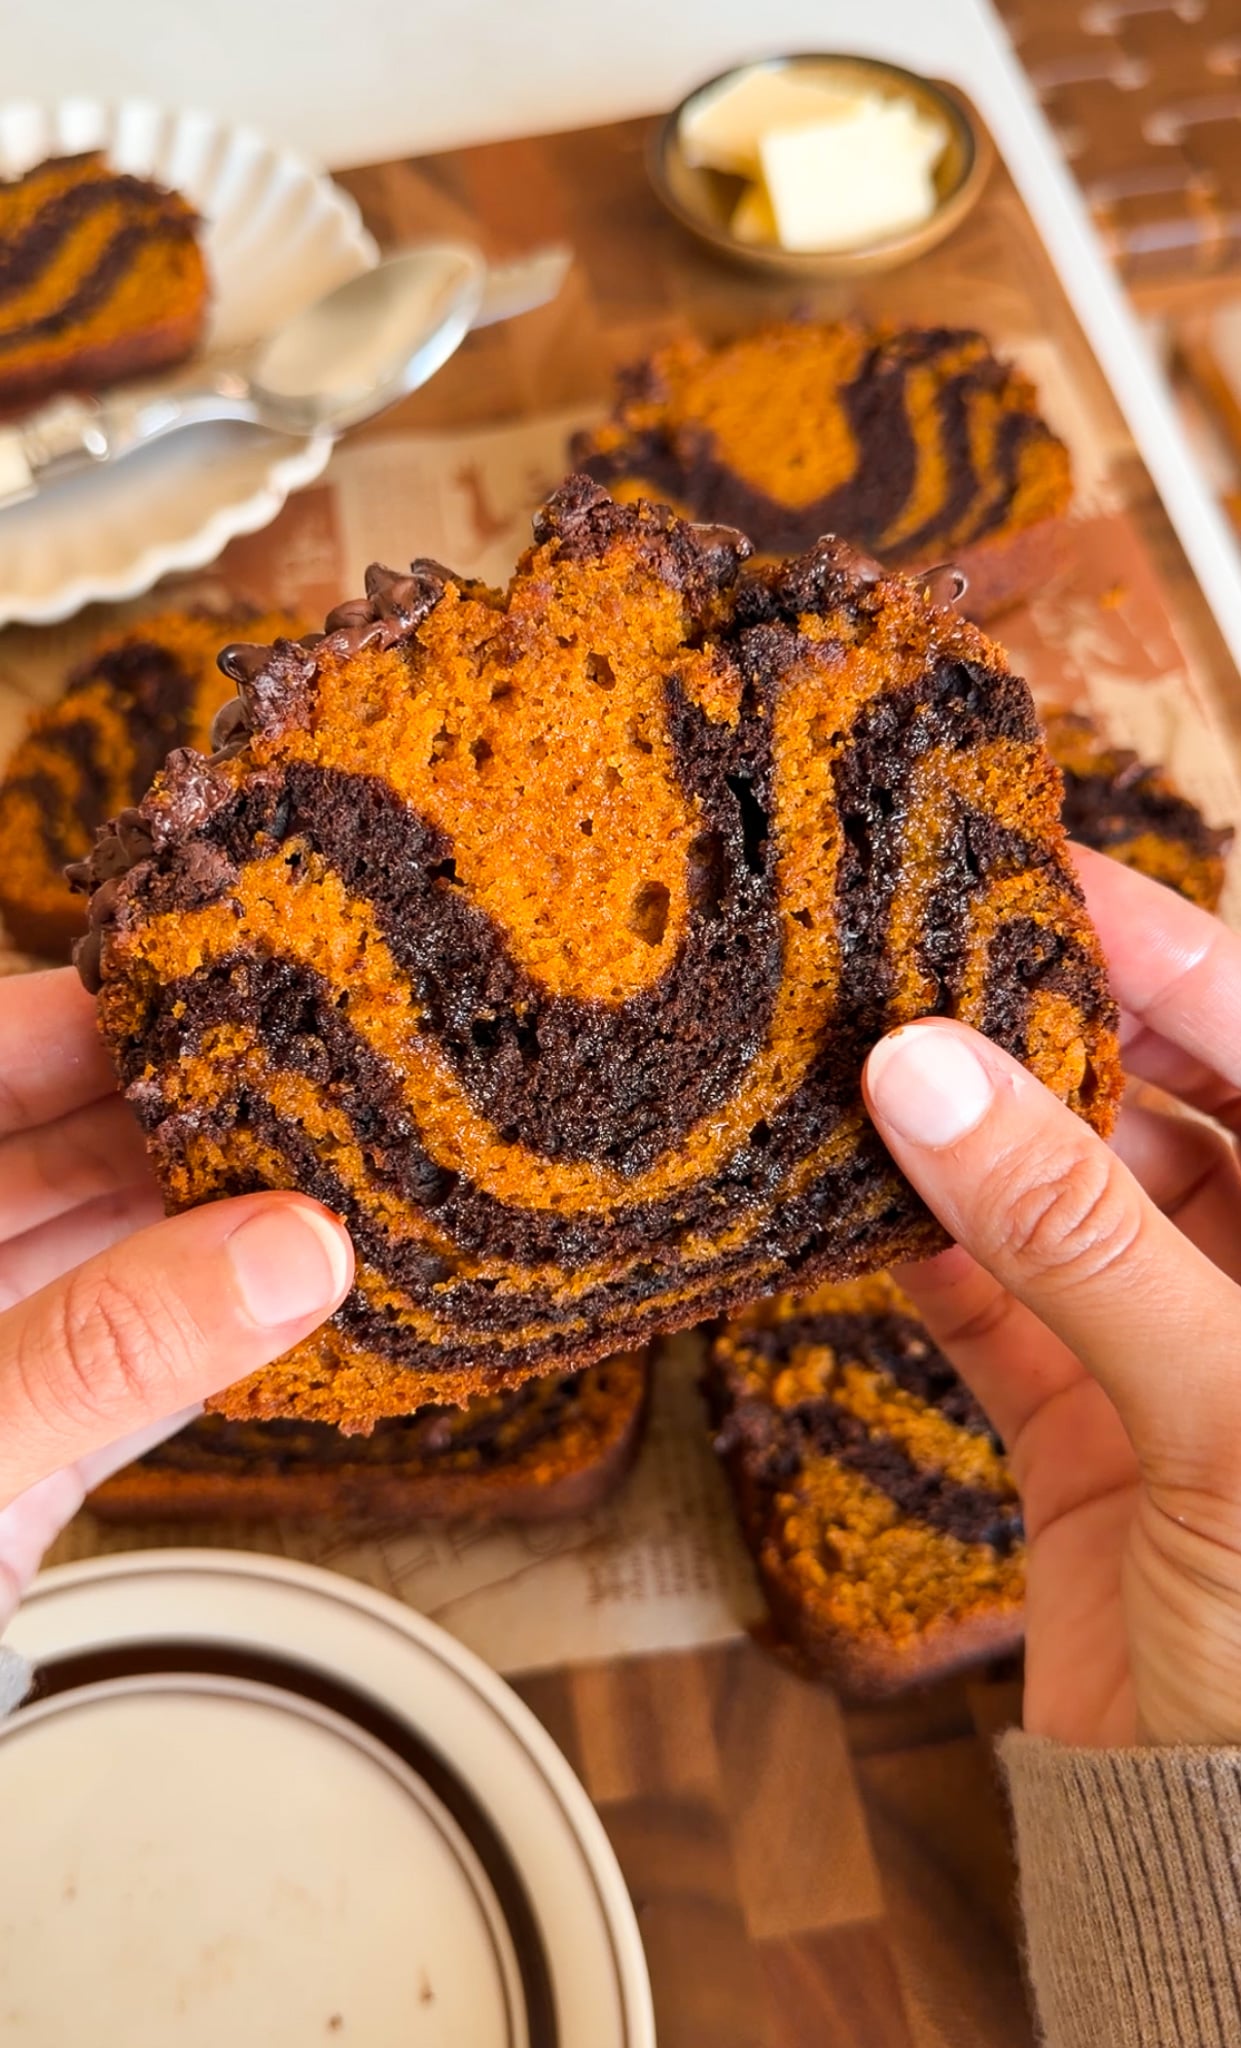
There’s a certain kind of fall baking day where you want pumpkin bread, but you also just really want chocolate, and I refuse to choose between the two. That’s exactly how this loaf came about. It’s the same cozy, spiced pumpkin bread base I make every October, but I split the batter, mixed part of it into a rich chocolate batter, and scattered scoops of both throughout the pan for that classic marble look.
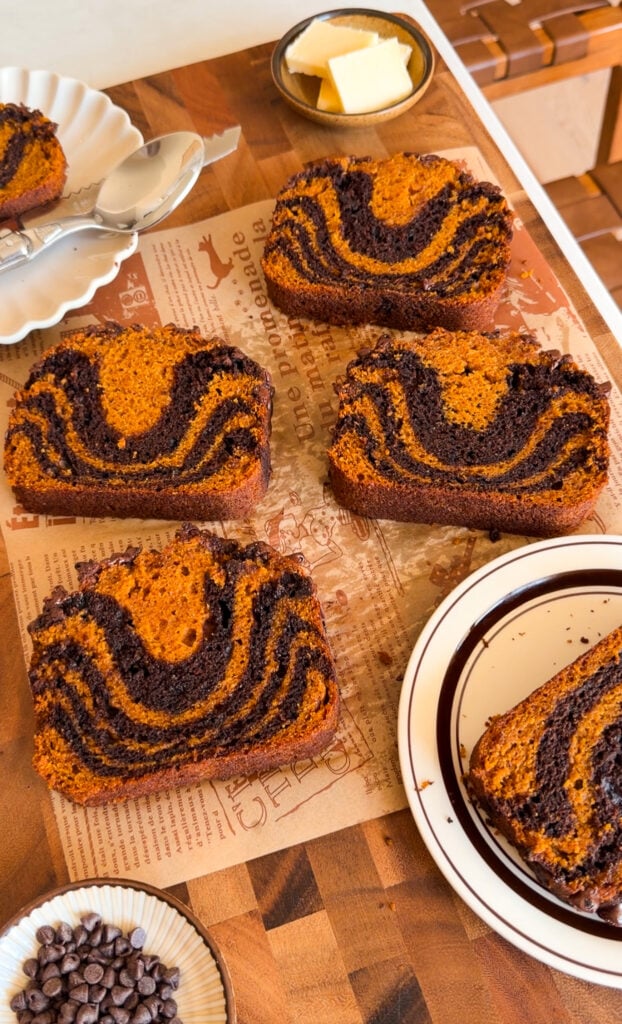
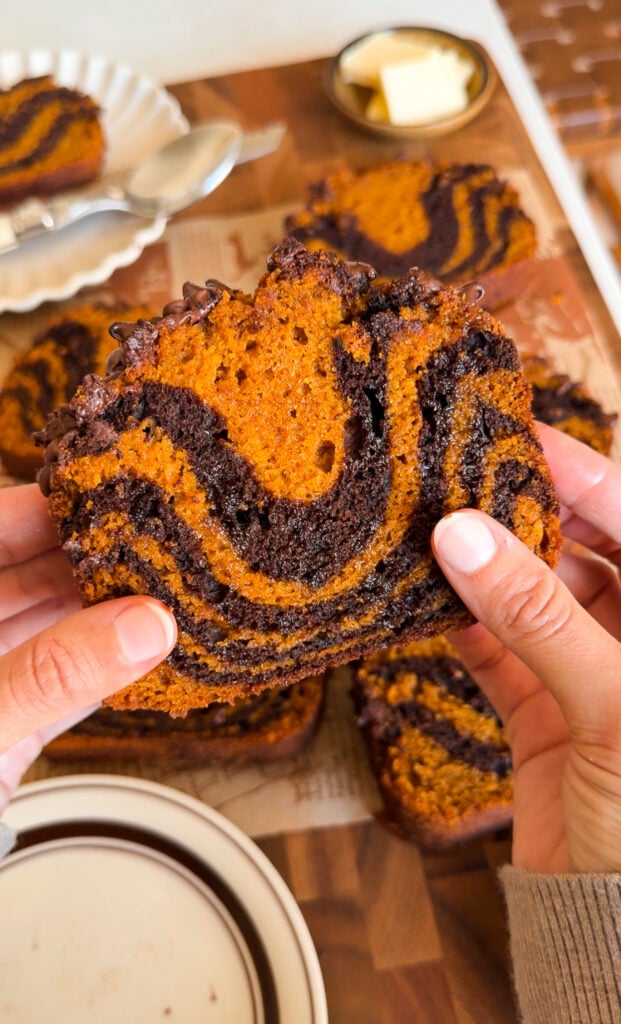
The result is a loaf that’s soft and warmly spiced in every pumpkin bite, with deep, almost fudgy streaks of chocolate cake running through it. It slices beautifully too — every piece shows off a different marble/zebra pattern, which honestly might be my favorite part.
What Makes This One Special
This isn’t just pumpkin bread with chocolate chips stirred in. Stacking the two batters on top of each other in the center of the pan is what gives you that striped, marbled look instead of a flat swirl, and it’s a technique that comes up a lot in cake and quick bread baking whenever you want two flavors to weave together in defined ribbons. It comes together in just two bowls with no mixer required, so this isn’t a recipe that demands extra equipment or a longer afternoon in the kitchen.
What You’ll Need
This recipe comes together so quickly, and if you love to bake, you probably have everything on hand! I always like to buy cans of pumpkin puree once the “BER” months hit so I can bake at any moment a craving hits.
- Pumpkin batter — the usual fall pantry staples: flour, pumpkin pie spice, cinnamon, baking soda, baking powder, and salt for the dry mix, plus white and brown sugar, eggs, vegetable oil, pumpkin puree, and vanilla for the wet mix. This is the same base I use for most of my fall quick breads, so if you bake with me often, this part will feel familiar.
- Chocolate swirl — just cocoa powder, milk, and instant coffee. You’ll pull a little less than half of the finished pumpkin batter into a separate bowl and stir these in to build the chocolate portion, so there’s no second batter to mix from scratch.
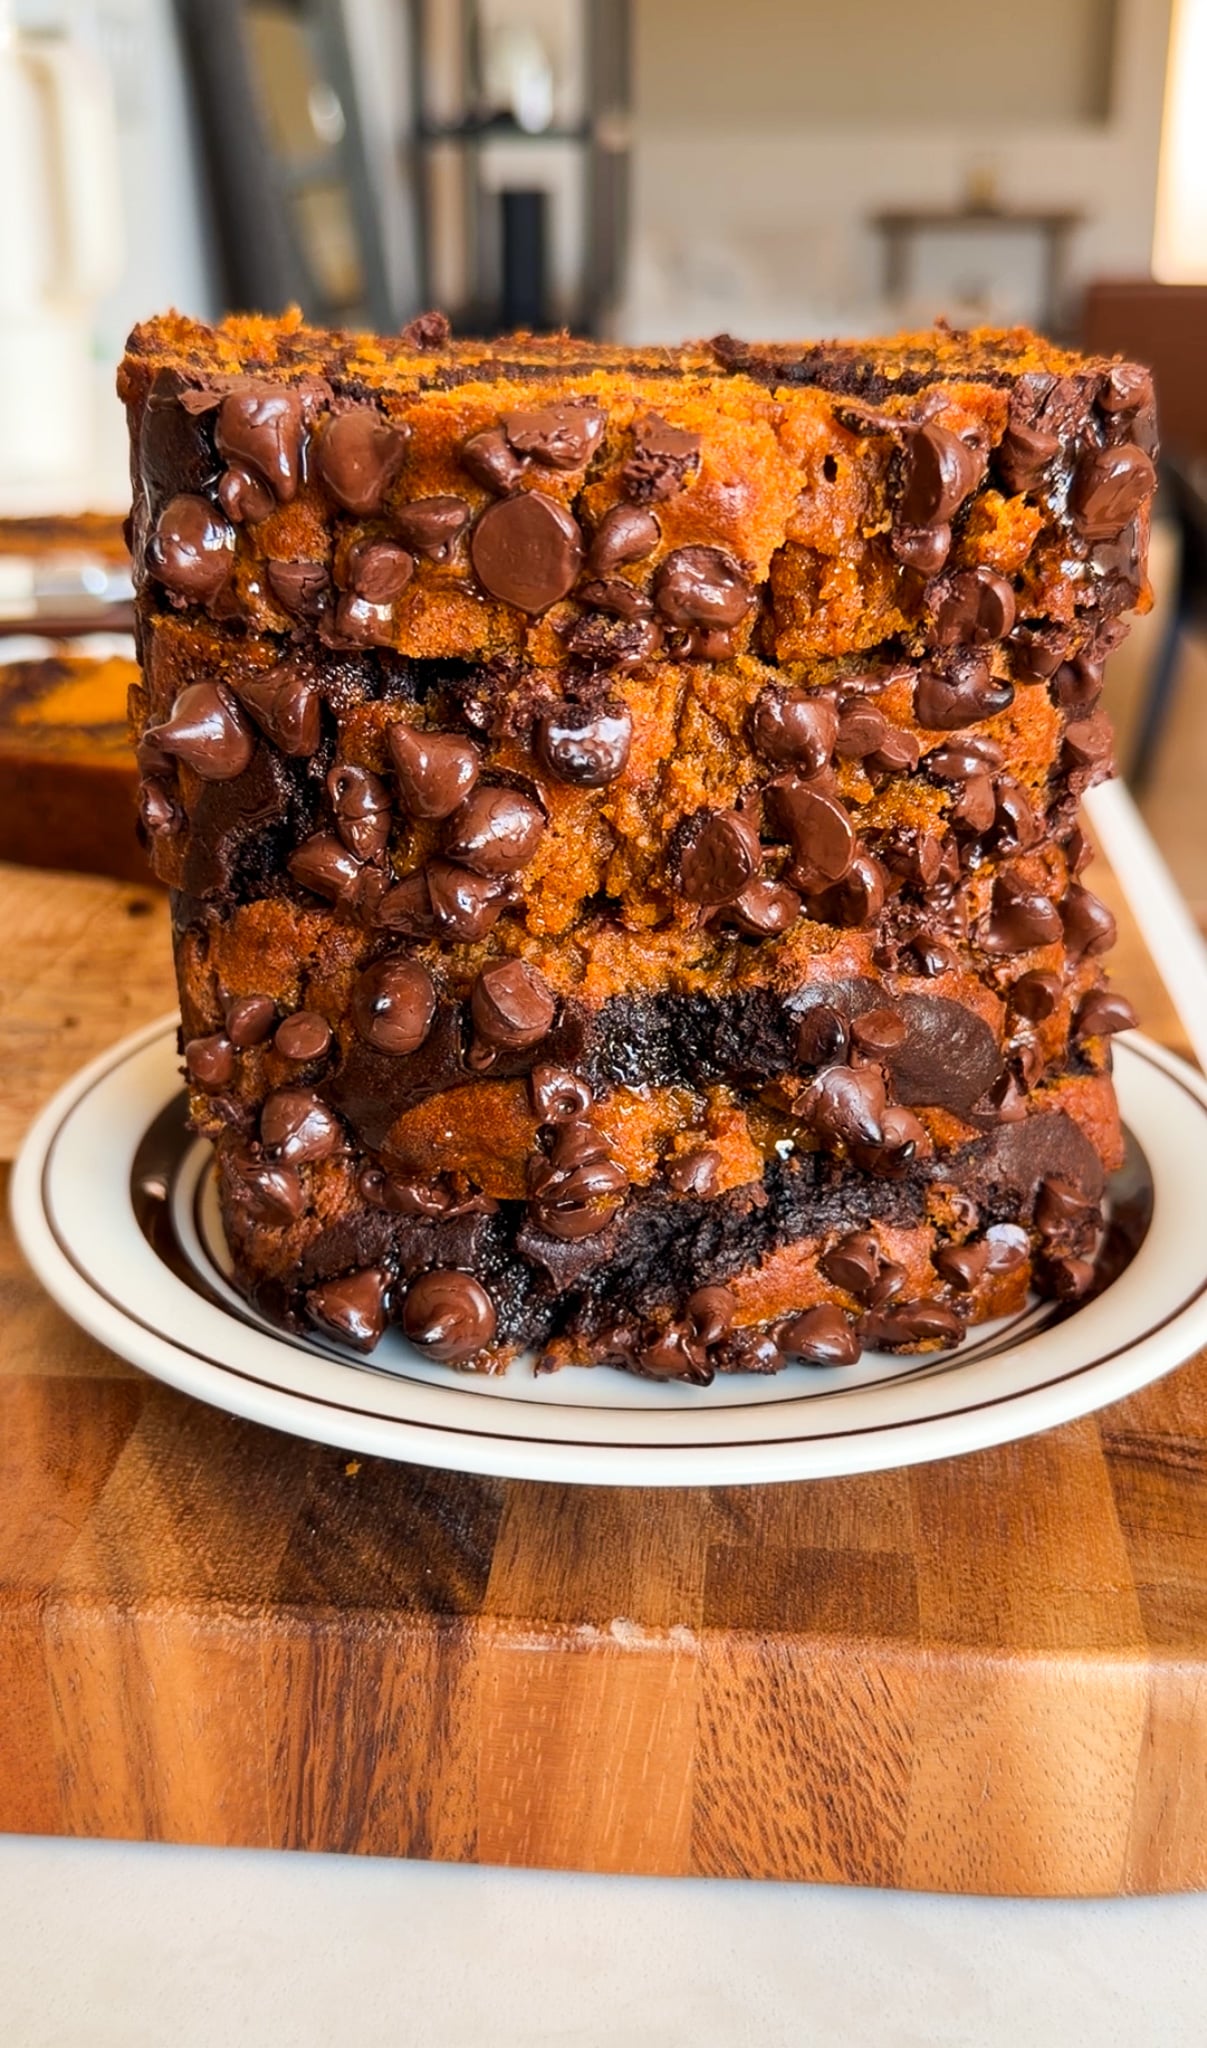
- Topping — a scattering of chocolate chips over the top before baking, so they get melty and slightly toasted as the loaf bakes, adding little pockets of gooey chocolate right at the crust.
Marble vs. Zebra: How To Get Each Pattern
“Marble” and “zebra” come from two different techniques, even though they use the exact same batters.
- Marble: Scoop the pumpkin and chocolate batters throughout the pan in no particular order instead of stacking them. Because the scoops land all over rather than in one spot, they blend into a more streaky dolloped look.
- Zebra (this recipe): Scoop each batter into the same center point of the pan, one on top of the other, alternating as you go. The weight of each new scoop pushes the batter beneath it outward in an even ring, so when you slice into it, you get a stack of clean, defined stripes that look like a zebra.
How To Make It
Start with your dry ingredients in a separate bowl — whisk together the flour, pumpkin pie spice, cinnamon, baking soda, baking powder, and salt until well combined. Whisking the dry ingredients on their own first makes sure the leaveners and spices are evenly distributed before they ever meet the wet ingredients, which helps the loaf rise evenly and keeps you from getting any pockets of baking soda in the finished bread.
In a large mixing bowl, whisk your wet ingredients together until completely smooth — the sugars, eggs, oil, pumpkin puree, and vanilla all go in together. Add the dry ingredients into the wet ingredients and fold everything together with a rubber spatula until you have a smooth, lump-free batter. Folding rather than whisking at this stage keeps you from overworking the flour, which is what keeps a quick bread tender instead of dense.
Scoop a little less than half of that batter into a separate bowl. This is where the chocolate swirl happens — add your cocoa powder, milk, and instant coffee, and whisk until fully smooth.
🤎 TIP: This batter should be thick, more like a spoonable fudge than a pourable batter. If it’s still too stiff to scoop easily, whisk in another tablespoon of milk.
Prep your loaf pan with butter or oil spray, then line it with a parchment sling. A parchment sling is just a strip of parchment cut to the width of your pan with a few extra inches hanging over the two long sides, like handles. Press it into the greased pan so it lines the bottom and comes up both sides, then once the loaf is baked and cooled, you use those overhanging edges to lift it straight out instead of flipping or shaking the pan. It’s a small step, but it keeps the crust and the swirl pattern intact on the way out, which matters a lot on a loaf where the marbling is the whole point.
🤎 TIP: This is the exact loaf pan I used for this recipe — it bakes evenly and gives the loaf that perfect shape every time.
Using one scoop for the pumpkin batter and a separate scoop for the chocolate batter, spoon two scoops of each throughout the pan, alternating as you go, until both batters are used up.
Scatter the chocolate chips over the top, then bake at 350°F for 55 to 65 minutes, until a toothpick comes out clean. Let it cool in the pan for about an hour before slicing — I know it’s tempting to cut in early, but the loaf really sets up as it cools, and slicing into it too soon can make the middle look gummy even when it’s fully baked.
Tips & Variations
A few things I’ve learned making marble loaves that’ll help yours turn out just right:
- Use two separate scoops, one for each batter, so you’re not mixing them together before they even hit the pan
- Scoop throughout the pan instead of in one spot for a true marble look instead of a zebra pattern
- If the chocolate batter feels too thick to scoop, add another tablespoon of milk at a time until it loosens up
- Let the loaf cool fully before slicing for the cleanest crumble and marble pattern in each piece
Make Ahead & Storing Leftovers
This loaf keeps well at room temperature for about 3 days when wrapped tightly or stored in an airtight container, which makes it a good one to bake ahead of a weekend brunch or a gathering. For longer storage, wrap individual slices and freeze for up to 2 months. Just thaw at room temp or warm briefly before eating, and they’ll taste just as good as the day you baked them.
Craving More Like This? Try These Recipes Out!
- Pumpkin Bread with Brown Butter Cream Cheese Frosting — The moistest pumpkin bread on the blog, topped with a rich brown butter cream cheese frosting.
- Pumpkin Coffee Cake — A spiced pumpkin base with a thick, buttery cinnamon crumb layered throughout.
- Pumpkin Bagels — Chewy, perfectly spiced bagels packed with cozy fall flavor.
- Pumpkin Pie French Toast — Crispy, golden French toast dipped in a pumpkin spice custard.
- Pumpkin Pie Hawaiian Roll French Toast — The classic French toast recipe made fall edition with soft Hawaiian rolls.
If you make this recipe, make sure to leave a comment below and let me know how it turns out — I love hearing from you! And if you snap a photo, don’t forget to tag me over on Instagram or TikTok so I can see your creations too.
You can also find this recipe and so many more on my Pinterest — perfect for saving to your board for later. And if you’re more of a visual learner, check out my YouTube channel, where I walk you through recipes step-by-step just like this one.
Pumpkin Chocolate Marble Loaf
Ingredients
PUMPKIN BATTER
- 1 3/4 cups all-purpose flour
- 2 teaspoons pumpkin pie spice
- 1 teaspoon baking soda
- 1/2 teaspoon ground cinnamon
- 1/2 teaspoon baking powder
- 1/2 teaspoon salt
- 1 cup white granulated sugar
- 1/2 cup light brown sugar, packed
- 2 large eggs
- 1/2 cup vegetable oil
- 1 1/2 cups pumpkin puree
- 1 teaspoon vanilla extract
CHOCOLATE SWIRL
- 1/4 cup unsweetened cocoa powder
- 2 tablespoons whole milk
- 1/2 teaspoon instant espresso powder
TOPPING
- 1/4 to 1/3 cup semi-sweet chocolate chips, more as needed
Equipment
- 9 x 5 loaf pan
Instructions
Start CookingMAKE THE PUMPKIN BATTER
- In a medium bowl, add the all-purpose flour, pumpkin pie spice, cinnamon, baking soda, baking powder, and salt, then whisk by hand until well combined.
- In a large mixing bowl, add the white granulated sugar, light brown sugar, eggs, vegetable oil, pumpkin puree, and vanilla extract, then whisk by hand until completely smooth.
- Add the dry ingredients to the wet ingredients, then fold together with a rubber spatula until you have a smooth batter with no clumps.
MAKE THE CHOCOLATE SWIRL
- In a medium bowl, add a little less than half of the pumpkin batter, then add the cocoa powder, milk, and instant coffee, and whisk by hand until smooth and fully combined. The batter should be thick; if it’s still too thick to swirl easily, whisk in another tablespoon of milk.
SWIRL AND BAKE
- Preheat the oven to 350°F, grease a 9×5-inch loaf pan with butter or oil spray, then line with parchment paper.
- Using one scoop for the pumpkin batter and a separate scoop for the chocolate batter, spoon two scoops of pumpkin batter into the center of the pan, then two scoops of chocolate batter directly on top in that same center spot, continuing to alternate scoops in the center until both batters are used up and letting each one spread outward on its own.
- Sprinkle the chocolate chips evenly over the top.
- Transfer to the oven and bake for 55 to 65 minutes, until a toothpick inserted into the center comes out clean.
- Remove from the oven and allow to cool in the pan for about 1 hour, then enjoy!
Notes
A: The coffee deepens the chocolate flavor without making the loaf taste like coffee. You can leave it out if you prefer, though the chocolate swirl will taste slightly milder. Q: How do I get a marble effect instead of a zebra effect?
A: Scooping the batters throughout the pan, like this recipe does, gives you a true marble look with soft, blended streaks. For a zebra effect instead, stack the scoops directly on top of one another in the center of the pan and let each one spread outward on its own, which creates defined rings.
Did You Make This Recipe?
If you make this recipe, leave a comment below and let me know how it turns out. I love hearing from you!


Rate & Review