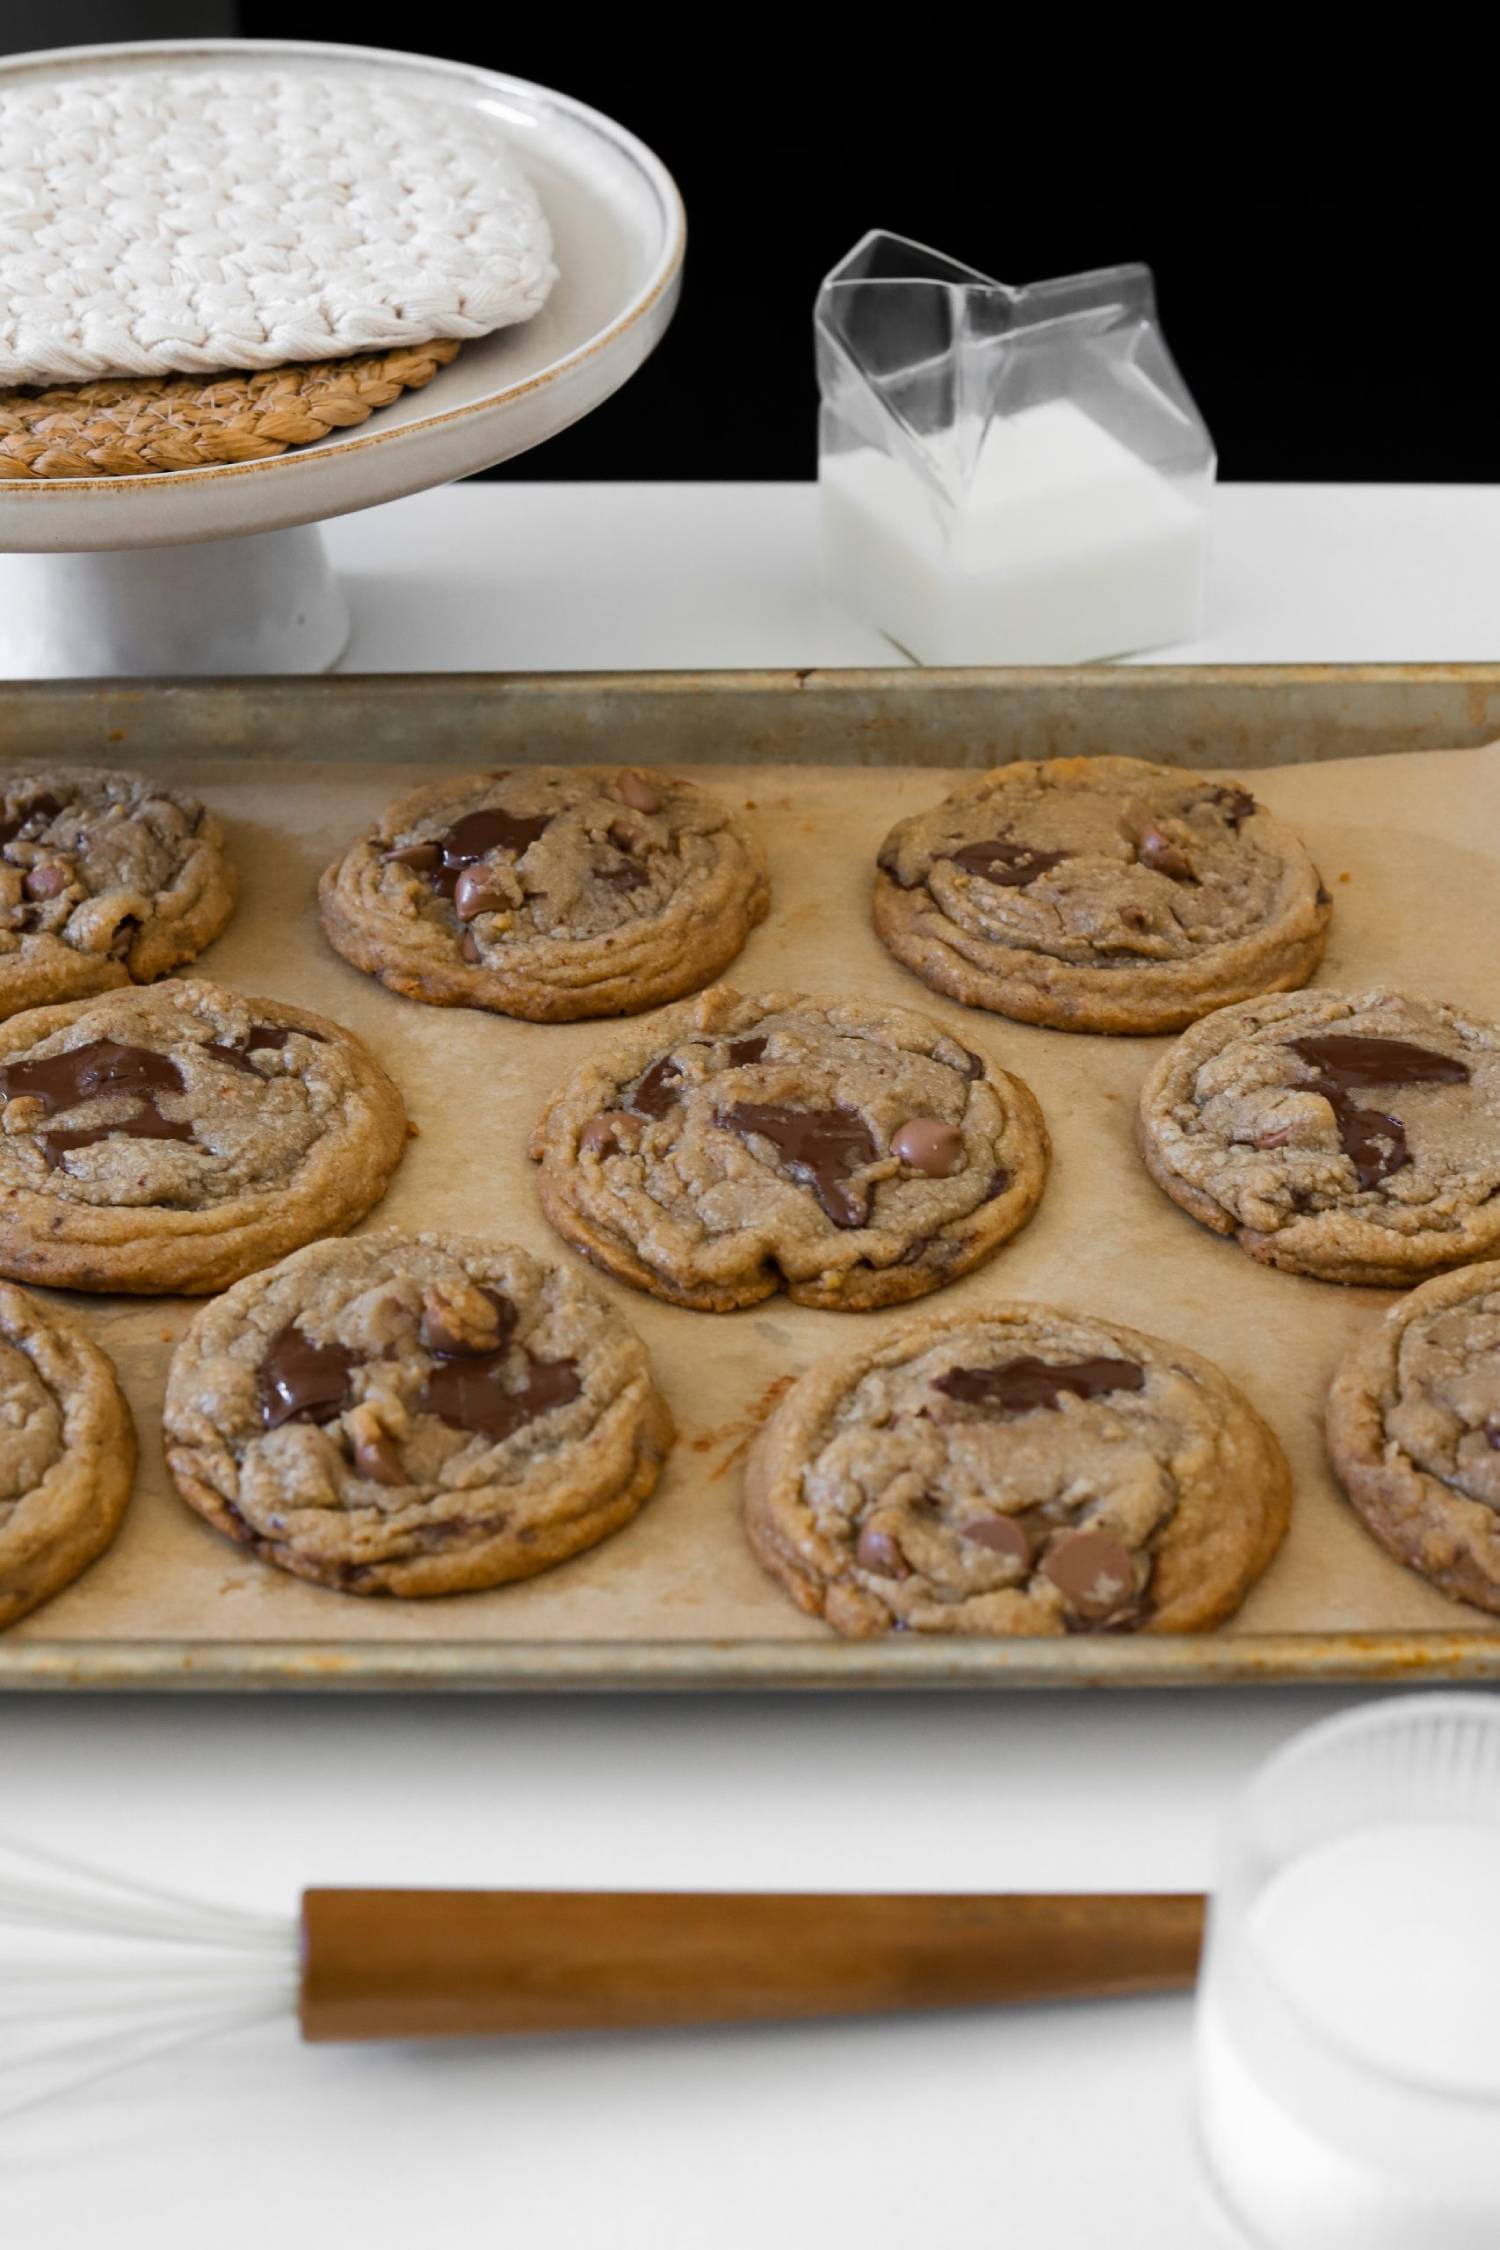
Red Velvet Pizookies
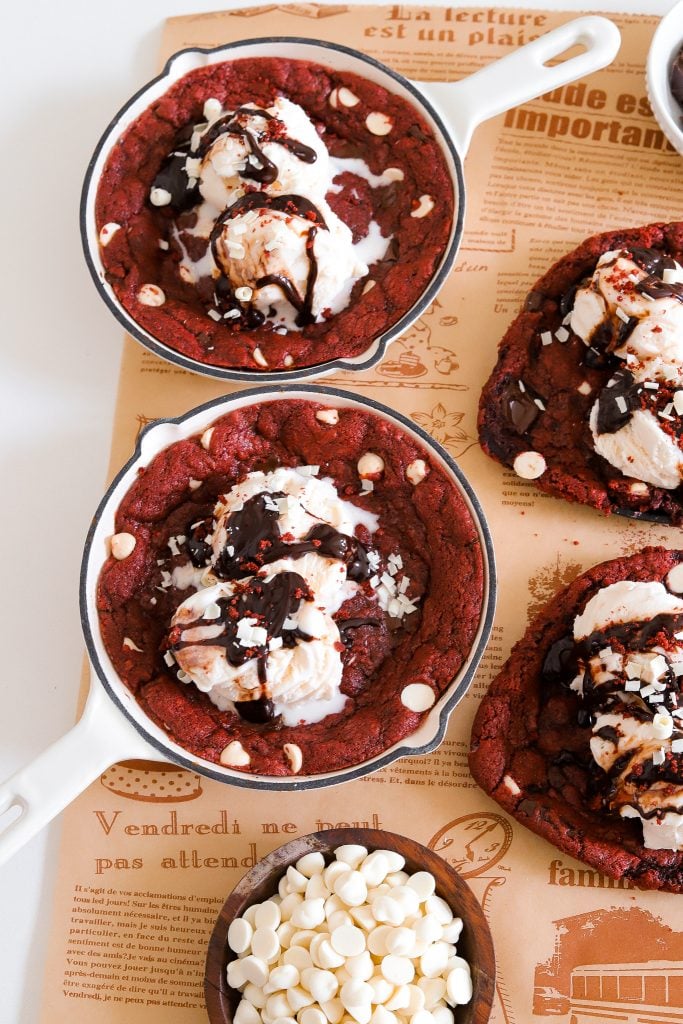
Heart-shaped red velvet pizookies are the cutest dessert you can make to tell someone you love them! The cookie is ooey and gooey in the center with the perfect crispy edges all around. When the cold ice cream melts into the freshly baked hot cookie, it creates the best sweet bite you’ll ever have!

One of my favorite places growing up to satisfy my sweet tooth was BJ’s restaurant and it was not for the food. It was solely for the pizookies which if you’ve never had one before, it’s the one thing better than a cookie. Imagine a large cookie baked fresh that comes to your table piping hot with scoops of creamy vanilla ice cream on top. For Valentine’s Day, I thought it would be cute to make red velvet pizookies in the shape of a heart and they’re not only super fun to make but pretty easy!
Making the Dough
There are three parts to making the cookie dough: the dry ingredients, the wet, and then the add-ins. Let’s start with the dry ingredients!
Here Is What You Need for the Dry Ingredients:
- All purpose flour
- Cocoa powder
- Cornstarch
- Salt
- Baking soda
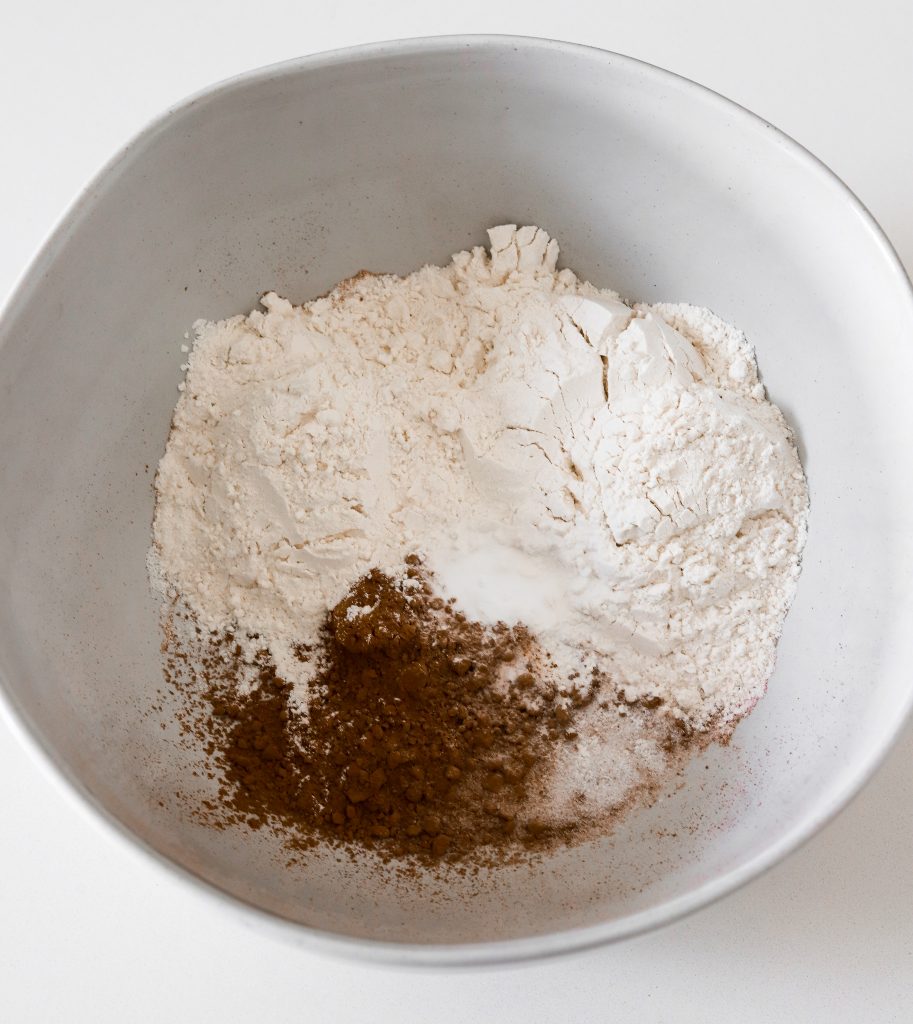
Just add all the ingredients above to a mixing bowl and whisk together. If you’ve never added cornstarch to cookie dough before, it helps make them extra soft and chewy!
Now for the Wet Ingredients:
- Unsalted butter
- Brown sugar
- White sugar
- Egg and egg yolk
- Vanilla extract
- Red food coloring
Add the melted butter, brown sugar, white sugar, egg, egg yolk, vanilla extract, and red food coloring to a mixing bowl and whisk together for a minute or two until completely combined and smooth. It should be very bright red! You can also use the paddle attachment on a stand mixer or use a a hand held mixer instead of a whisk.
Now, add in the dry ingredients and combine this time with a rubber spatula or a paddle attachment if using a stand mixer. You should have a nice cookie dough consistency! It will firm up more after we add it to the fridge.
Finally, The Add-Ins:
- White chocolate chips
- Semi-sweet chocolate chips
- Oreos
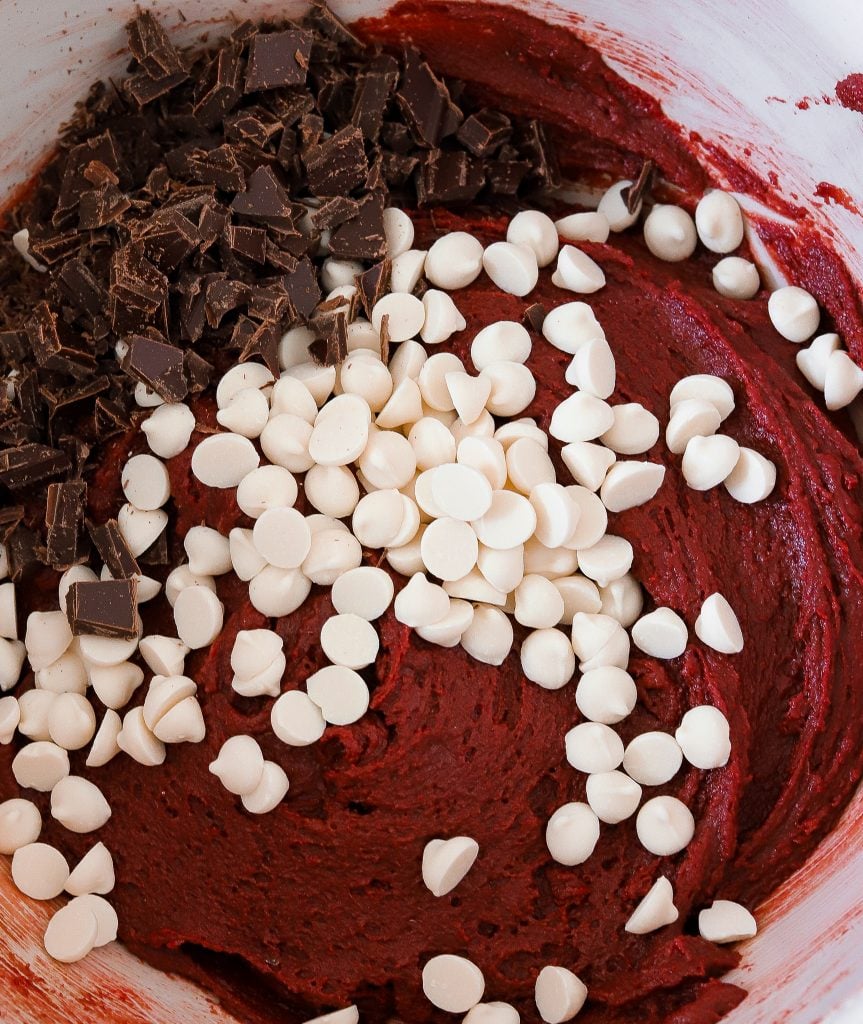
Add in the white chocolate chips, semi-sweet chocolate chips, and chopped Oreos. Mix in with a rubber spatula or paddle attachment and that’s it. The dough is now ready! You can let it rest for 20 minutes for the dough to set but I also get lazy and bake them right away and they turn out perfectly fine either way. Cover and pop in the fridge for 30 minutes to firm up and let the flavors meld together.
Baking The Cookies
Start by preheating the oven to 350°F. Line a baking sheet with parchment paper and add scoop out the dough onto the sheet, about 1/4 cup size each. If you have a large ice cream scoop, that is what I use to size each of them equally. Each baking sheet will fit 6 cookies. Do not overcrowd them.
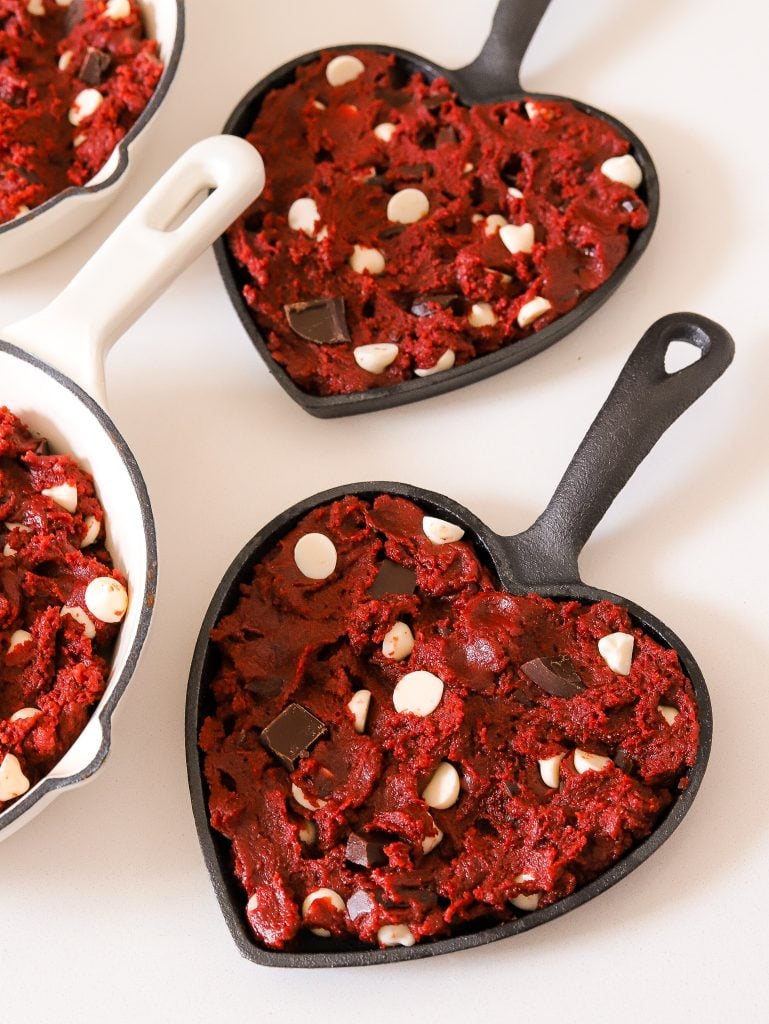
Pop in the oven to bake for 11 to 12 minutes. They will be golden brown on the edges and still very soft in the center. They may appear uncooked in the center but keep this in mind: you do not want to over-bake them because they will firm up as they cool down out of the oven.
Where to Get the Heart Skillet
I purchased my heart skillets from Target and they came as a part of a kit with cookie dough ingredients but I only used the skillet. I will say they are not great but I couldn’t find heart skillets anywhere else. MY complaint is that they’re super thin and not deep at all so the dough did overflow the sides a bit while baking in the oven. They’re also very cheaply made so after one use and washing them, they already rusted and I had to toss them out. But at least they served their function once.
The good news is this would work in heart shaped pan as well or just a round skillet. It does not have to heart shaped and it does not have to be a skillet.
Variations to Try
- Instead of white chocolate chips and semi-sweet chocolate chunks, add Oreo cookies & creme chocolate and Oreos
- Bake into individual cookies instead of a skillet pizookie!
Can I Prepare This Ahead of Time
Yes, if you want to make this ahead of time, just prepare the dough, shape it into your skillet, cover it, and keep in the fridge to bake later. If you want to keep in the freezer for longer, portion out the dough into portions the size of your skillet and then just thaw it out before using so you can easily shape them into your skillet.
Other Valentine’s Themed Recipes to Try
If you tried this recipe and loved it, drop by down below and let me know how you liked it with a rating and comment! Feel free to also leave a question there about this recipe and I’ll get right back to it.
To see more recipes and behind the scenes, follow along on Instagram and Youtube! I’m also now on Pinterest pinning away so stop by and see what’s up.

Dessert
Red Velvet Pizookies
Ingredients
- 1 1/2 cups all purpose flour
- 1/4 cup cocoa powder
- 1 teaspoon baking soda
- ½ teaspoon salt
- 2 tablespoons cornstarch
- 1 ½ stick unsalted butter, melted, ¾ cup
- ¾ cup white sugar
- ½ cup light brown sugar
- 1 whole large egg + 1 egg yolk
- 1 teaspoon vanilla extract
- 1/3 cup to 1/2 cup white chocolate chips
- 1/3 cup semi sweet chocolate, chopped
- 1 tablespoon red food coloring
- vanilla ice cream
- fudge sauce, optional
Instructions
- In a small bowl, whisk together all purpose flour, cocoa powder, baking soda, salt, and cornstarch.
- In a mixing bowl, add the butter, brown sugar, white sugar, egg and egg yolk, and vanilla extract. Whisk together until smooth.
- Add the dry to the wet and combine until a dough forms using a rubber spatula or a stand mixer fitted with a paddle attachment.
- Mix in the white chocolate chips and semi sweet chocolate chunks. Cover tightly and pop in the fridge to chill for 30 minutes.
- Preheat oven to 350°F.
- Spray the skillet with oil spray or butter it to prevent sticking.
- Add the cookie dough to the skillet, filling it 1/2 to 2/3 of the way to the top as the cookies will rise.
- Pop in the oven to bake for about 12 to 14 minutes until the edges are golden and the center is still a bit soft. The pizookie will continue baking out of the oven.
- Add vanilla ice cream scoops on top and hot fudge sauce if desired to enjoy!
Tips & Notes
- Feel free to add as little or as much chocolate as you'd like. You can also only add white chocolate chips or even swap it our for Hersheys cookies n creme chocolate and Oreos for a red velvet cookies n creme fusion.
You Might Also Like




HI, I’M HAJAR
Welcome to Moribyan! This is my blog where I love to share all my favorite recipes and lifestyle tips with you all. If I’m not cooking here, I’m either at Trader Joe’s, the gym, or eating a bagel.
LET’S CONNECT
Pin This Recipe