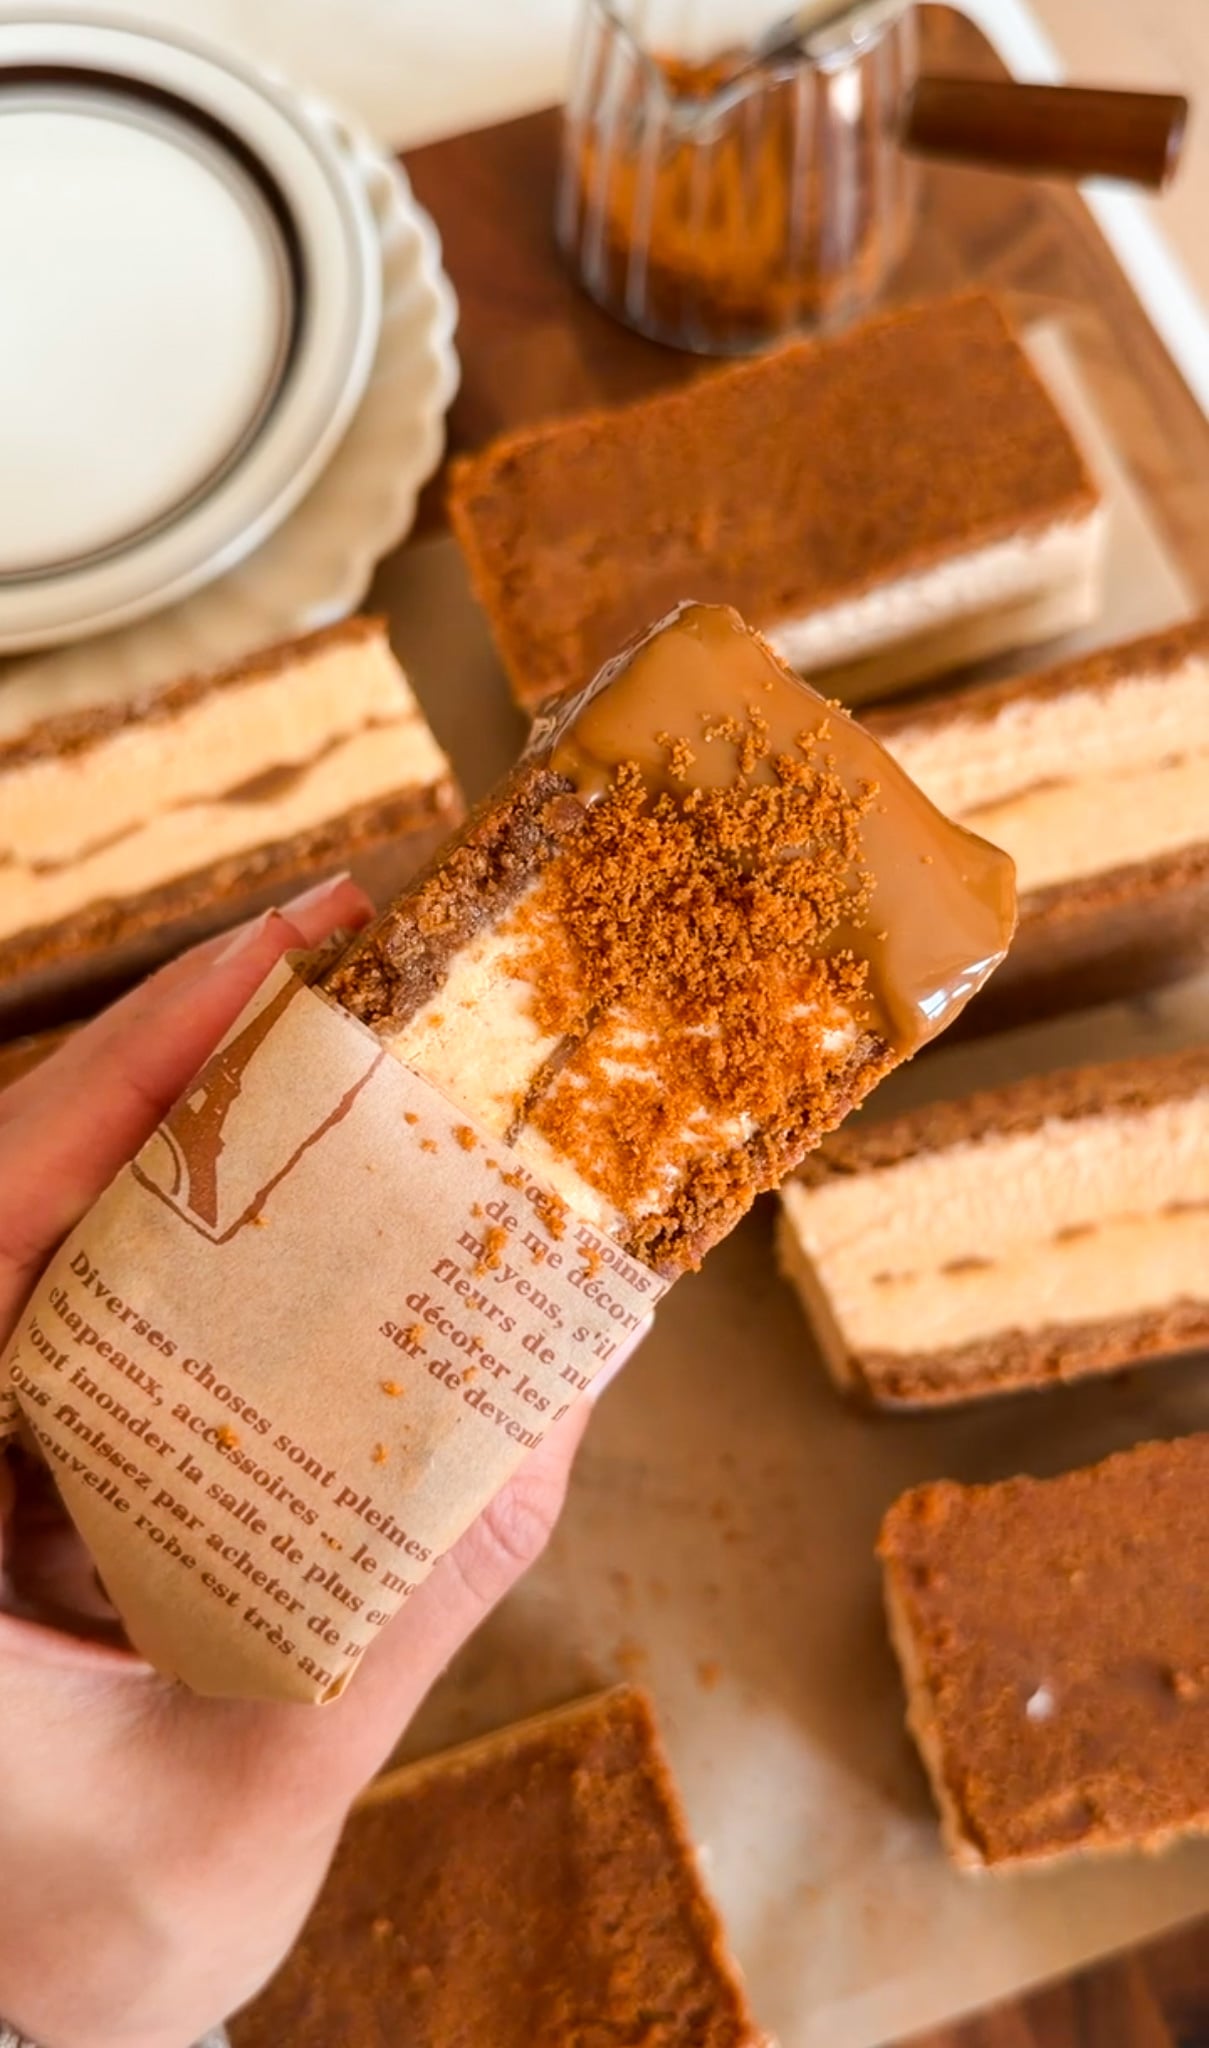
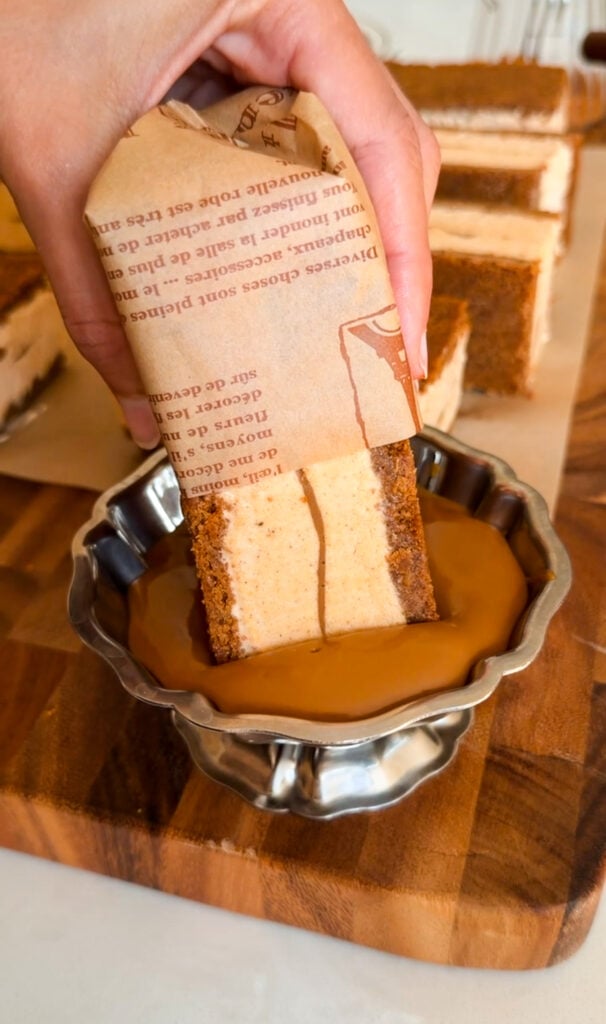
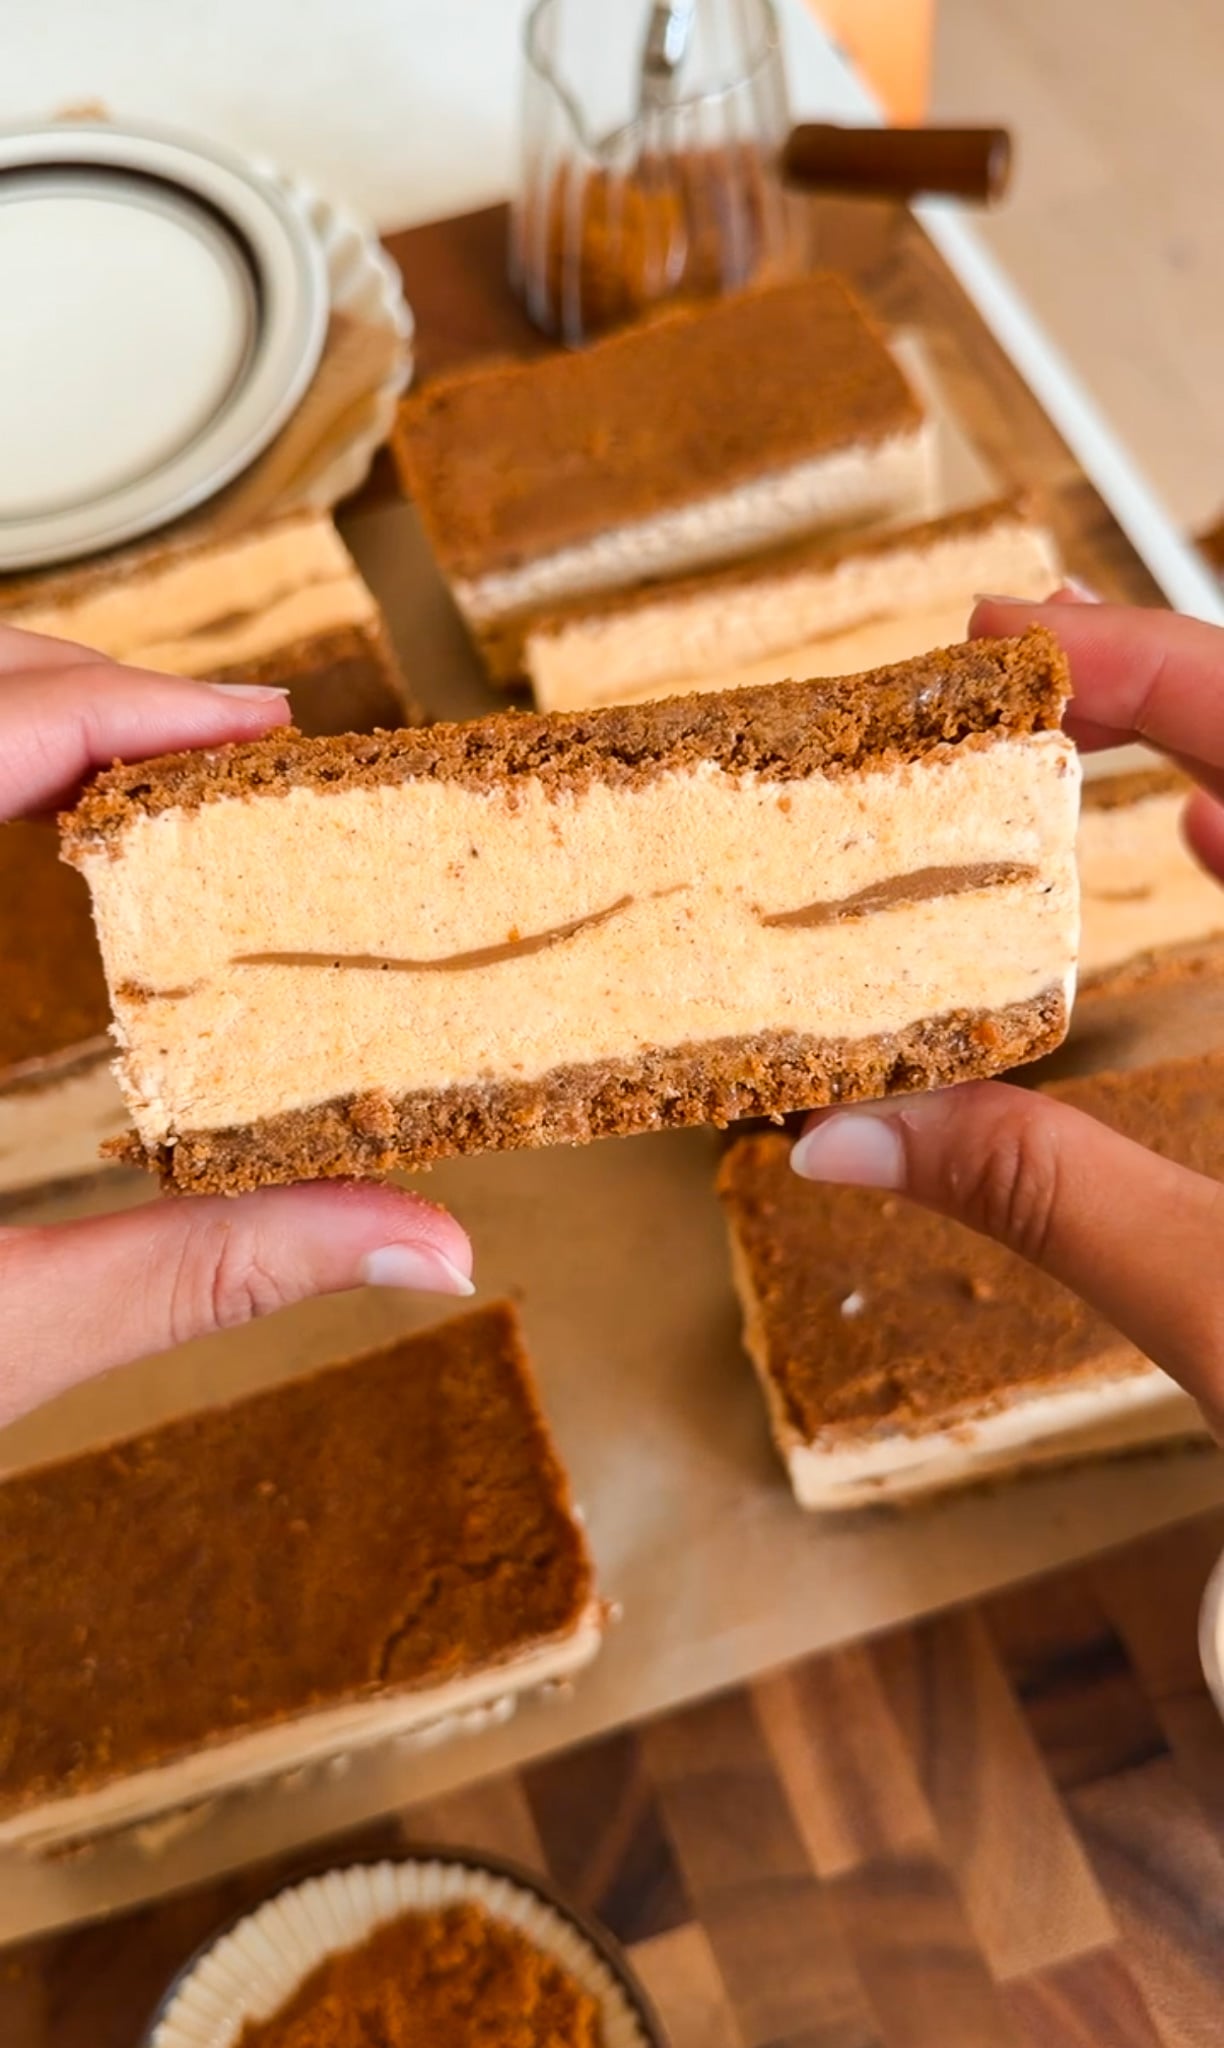
Pumpkin and Biscoff are one of those flavor combinations that just make sense once fall hits, and this no-churn ice cream bar puts them together in the easiest AND most delicious way possible. And the best part? No ice cream maker required! Just whip, layer, and let the freezer do the work. The result is a creamy pumpkin spice ice cream sandwiched between two buttery Biscoff cookie crusts, with a ribbon of warmed Biscoff spread and cookie crumbs running right through the middle.
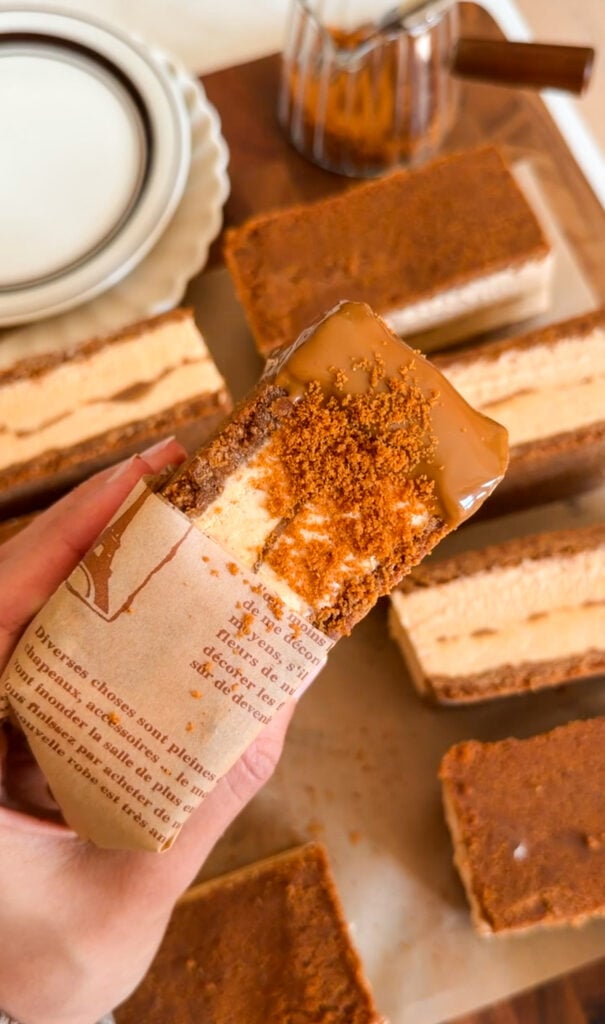
It’s the kind of dessert you can prep the night before and forget about until it’s time to slice and serve, which makes it perfect for anything from a weeknight treat to a fall gathering.
🤎 If you love a good no-churn ice cream, there’s a Fluffernutter version in my cookbook, Moribyan’s Kitchen, too — peanut butter and marshmallow in the same easy, no-machine format.
What Makes This One Special
This isn’t your typical churned ice cream. Since there’s no ice cream maker involved, the texture comes entirely from whipping the cream to stiff peaks and folding in the condensed milk and pumpkin. That’s what keeps it soft and scoopable straight out of the freezer instead of rock hard. The Biscoff layer running through the center isn’t just for flavor either. It adds a caramelized, cookie-butter flavor that pairs so well with the warm pumpkin pie spice flavor. And it also adds more texture!
What You’ll Need
This recipe comes together in two parts, made across two days:
- Biscoff crust: Biscoff cookies ground into crumbs and mixed with melted butter, divided so you make the bottom crust on day one and the top crust on day two.
- Pumpkin ice cream: heavy cream whipped to stiff peaks, then folded together with condensed milk, pumpkin puree, and pumpkin pie spice, with a swirl of warmed Biscoff spread and cookie crumbs layered through the middle.
How To Make It
Make the Bottom Crust
Start by lining the bottom of a 9×9-inch pan with parchment paper. In a food processor, pulse half of the Biscoff cookies (1 packet) until they’re finely ground into crumbs. Transfer the crumbs to a bowl, add half of the melted butter, and stir until the mixture is fully combined and looks like wet sand.
Press the mixture firmly into the bottom of your prepared pan, using the bottom of a measuring cup to pack it into an even layer. Transfer the pan to the freezer while you work on the ice cream.
🤎 TIP: Grind the remaining Biscoff cookies into crumbs now too, then transfer them to a ziplock bag and set aside at room temperature. You’ll mix these with the rest of the butter the next day to make the top crust, so there’s no need to touch the food processor twice.
Make the Pumpkin Ice Cream
In a large mixing bowl, whip the heavy cream and vanilla extract with a hand mixer on medium speed until stiff peaks form. Make sure not to overmix it or your ice cream won’t be smooth! Add the condensed milk and whisk on low speed until fully incorporated, then add the pumpkin puree and pumpkin pie spice and whisk again until smooth and fully combined.
Assemble and Freeze
Take the pan with your bottom crust out of the freezer and pour half of the pumpkin ice cream mixture over it, spreading it into an even layer with a rubber spatula. Drizzle the warmed Biscoff spread over that layer, then sprinkle the Biscoff cookie crumbs evenly on top.
Pour the remaining pumpkin ice cream mixture over the Biscoff layer and spread it into an even layer. Press a piece of saran wrap directly onto the surface of the ice cream to cover it completely, then freeze overnight.
Finish with the Top Crust
The next day, add your reserved Biscoff crumbs to a bowl along with the remaining melted butter and stir until it looks like wet sand again.
🤎 TIP: Work quickly here — remove the saran wrap, pour the crumb mixture over the ice cream layer, and spread it into an even layer right away. It firms up fast once it hits the cold surface, so you don’t want to give it time to set before it’s spread evenly.
Once the top crust is in place, lift the whole dessert out of the pan using the parchment paper. Cut down the middle with a sharp knife, then cut each half into 4 to 5 rectangular pieces for 8 to 10 pieces total.
Tips & Variations
A few things to keep in mind as you make these:
- Work fast when spreading the top crust since the butter mixture firms up quickly once it touches the frozen ice cream
- Keep the reserved crumbs in a ziplock bag at room temperature overnight so they’re easy to mix the next day
- Use a sharp knife and wipe it clean between cuts for the cleanest edges on each piece
- Layer parchment paper between the pieces in your storage container so they don’t stick together in the freezer
Make Ahead & Storing Leftovers
Once cut, transfer the pieces to an airtight container, layering parchment paper between them so they don’t stick together. Store in the freezer for up to 2 weeks.
Craving More Like This? Try These Recipes Out!
- Pumpkin Bread with Brown Butter Cream Cheese Frosting: The moistest pumpkin bread on the blog, topped with a rich brown butter cream cheese frosting.
- Pumpkin Coffee Cake: A spiced pumpkin base with a thick, buttery cinnamon crumb layered throughout.
- Pumpkin Bagels: Chewy, perfectly spiced bagels packed with cozy fall flavor.
- Pumpkin Pie French Toast: Crispy, golden French toast dipped in a pumpkin spice custard.
- Pumpkin Pie Hawaiian Roll French Toast: The classic French toast recipe made fall edition with soft Hawaiian rolls.
If you make this recipe, make sure to leave a comment below and let me know how it turns out — I love hearing from you! And if you snap a photo, don’t forget to tag me over on Instagram or TikTok so I can see your creations too.
You can also find this recipe and so many more on my Pinterest — perfect for saving to your board for later. And if you’re more of a visual learner, check out my YouTube channel, where I walk you through recipes step-by-step just like this one.
Pumpkin Biscoff Ice Cream Sandwiches
Ingredients
BOTTOM AND TOP CRUST
- 2 sleeves Biscoff cookies, 8.8 ounces or 250 grams each, divided
- 12 tablespoons unsalted butter, melted, divided
PUMPKIN ICE CREAM
- 2 cups heavy cream
- 1 1/2 teaspoons vanilla extract
- 1 can, 14 ounces sweetened condensed milk
- 1 cup pumpkin puree
- 2 teaspoons pumpkin pie spice
- 1/4 cup Biscoff spread, warmed
- 1/4 cup Biscoff cookie crumbs
Instructions
MAKE THE BOTTOM CRUST
- Line the bottom of a 9×9-inch pan with parchment paper.
- In a food processor, add half of the Biscoff cookies (1 pack) and pulse until finely ground into crumbs.
- Add the crumbs to a bowl, then add half of the melted butter and stir with a spoon until fully combined and the mixture looks like wet sand. Press it firmly into the bottom of the prepared pan, using the bottom of a measuring cup to pack it into an even layer, then transfer to the freezer while you make the ice cream.
- In the food processor, add the remaining Biscoff cookies and pulse until finely ground into crumbs, then transfer to a ziplock bag and set aside at room temperature. You’ll mix this with the remaining butter the next day to make the top crust.
MAKE THE PUMPKIN ICE CREAM
- In a large mixing bowl, add the heavy cream and vanilla extract, then whip with a hand mixer on medium speed until stiff peaks form.
- Add the condensed milk to the whipped cream, then whisk on low speed until fully incorporated.
- Add the pumpkin puree and pumpkin pie spice to the bowl, then whisk again on low speed until smooth and fully combined.
ASSEMBLE AND FREEZE
- Remove the pan with the bottom crust from the freezer, then pour half of the pumpkin ice cream mixture over it and spread into an even layer with a rubber spatula.
- Drizzle the warmed Biscoff spread over the ice cream layer, then sprinkle the Biscoff cookie crumbs evenly over the top.
- Pour the remaining pumpkin ice cream mixture over the Biscoff layer and spread into an even layer with a spatula.
- Place a piece of saran wrap directly on top of the ice cream, pressing it down gently to cover the entire surface, then freeze overnight.
- The next day, prepare the top crust: add the reserved Biscoff crumbs to a bowl, then add the remaining melted butter and stir with a spoon until fully combined and the mixture looks like wet sand.
- Remove the saran wrap, then pour the crumb mixture over the ice cream layer and quickly spread it into an even layer with a spatula, working fast since the mixture firms up quickly.
- Lift the dessert out using the parchment paper, then cut down the middle with a sharp knife, cleaning the knife between each cut. Then cut each half into 4 to 5 rectangular pieces, for 8 to 10 pieces total, then enjoy!
Notes
A: Once cut, transfer the pieces to an airtight container, layering parchment paper between them so they don’t stick together. Store in the freezer for up to 2 weeks.
Did You Make This Recipe?
If you make this recipe, leave a comment below and let me know how it turns out. I love hearing from you!
Rate & Review