
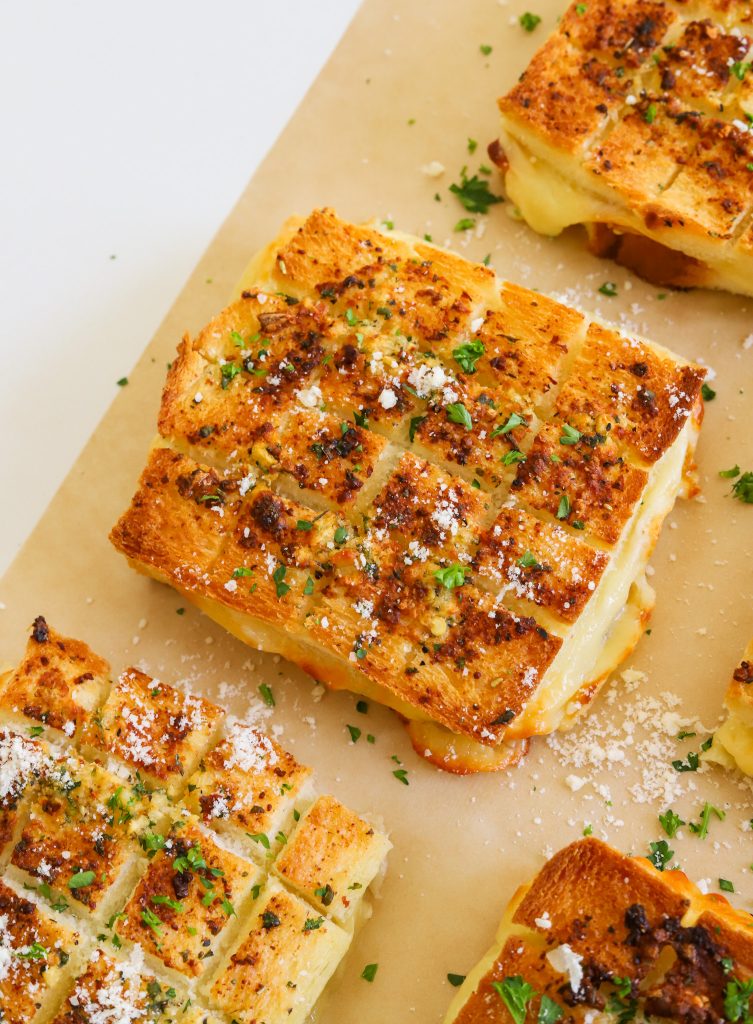
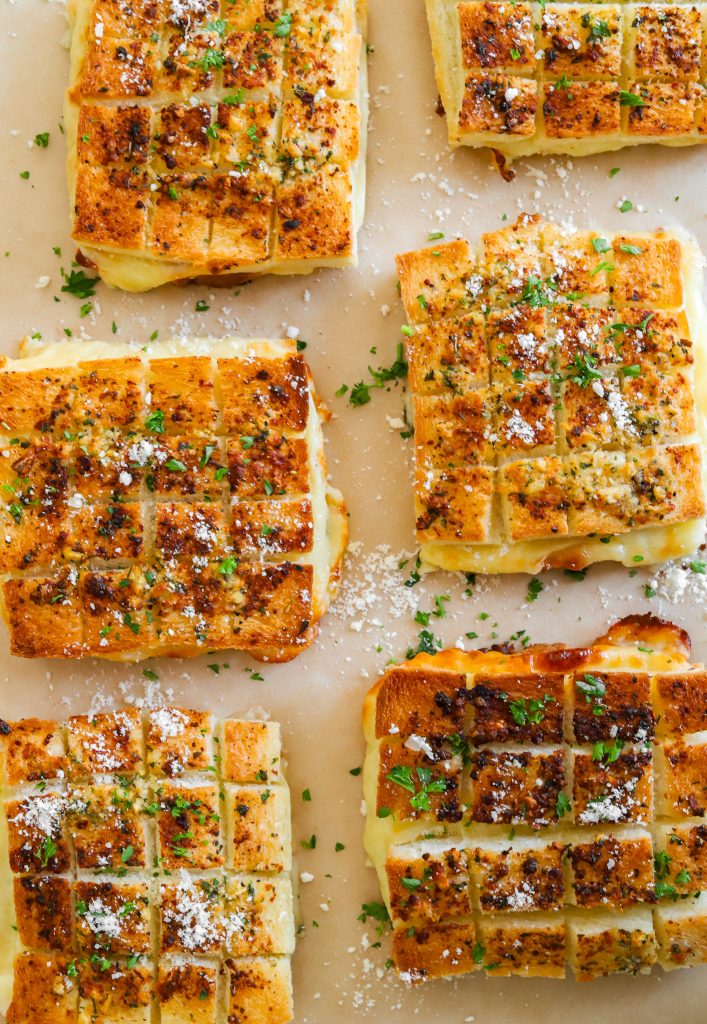
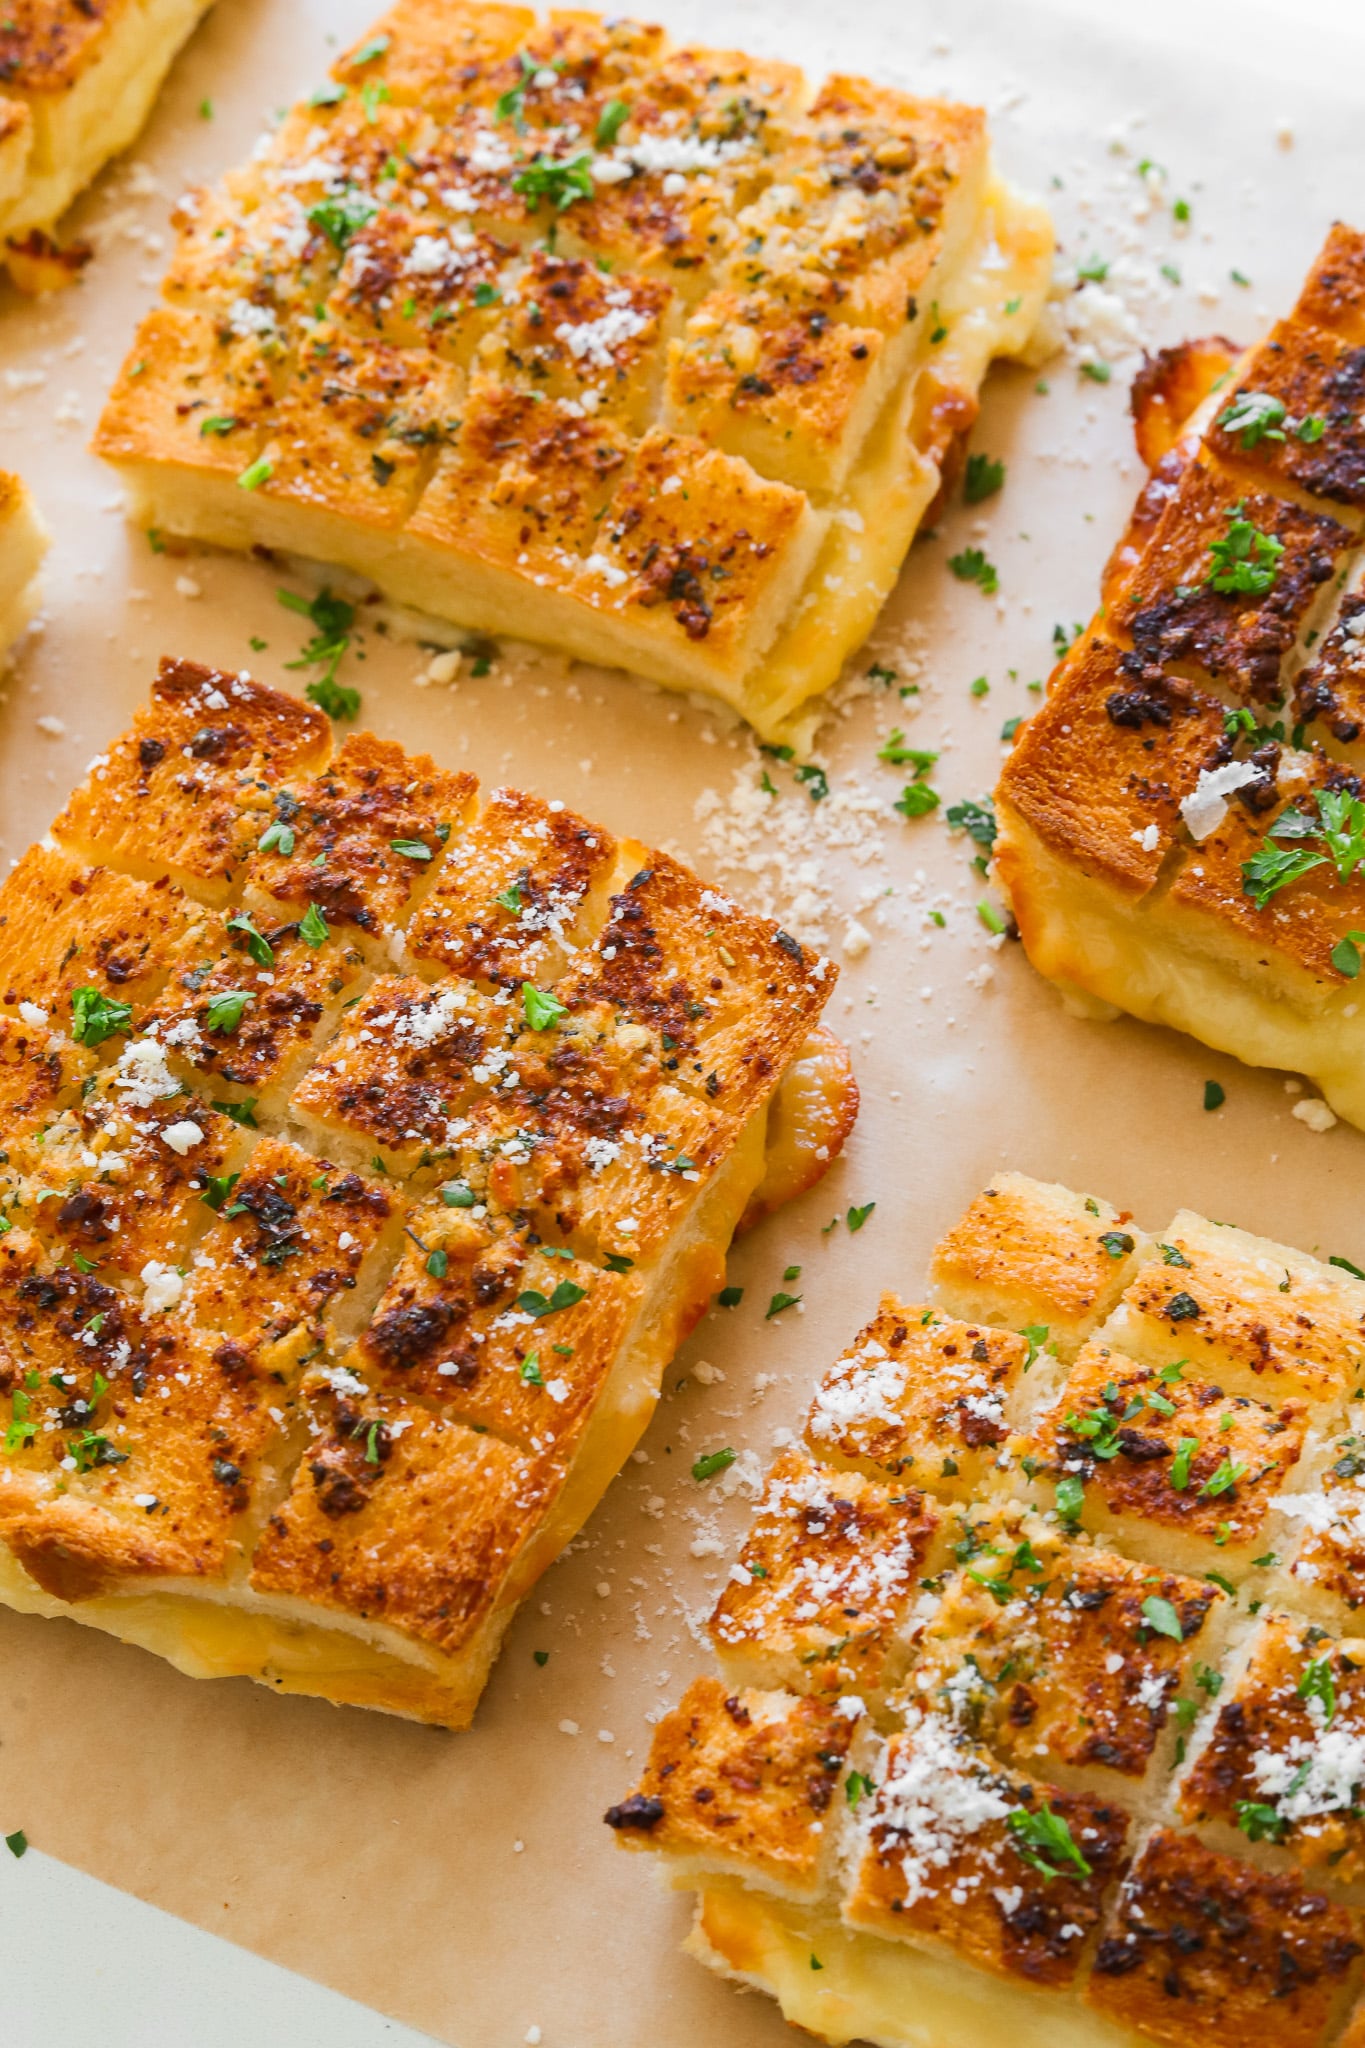
This isn’t your basic grilled cheese. We’re taking it up a notch with garlic butter, crispy golden edges, and melty cheese in every bite. But the best part? The top slice gets the Hasselback treatment, which means more square footage for crispiness and cheesy goodness. Each little cut toasts up perfectly so you can rip off crispy, buttery squares as you go — it’s grilled cheese like you’ve never had before.
Why This Garlic Butter Is Everything
Let’s talk about the garlic butter — it’s the flavor backbone of this recipe and it takes less than 5 minutes to make. We’re melting down unsalted butter and mixing it with:
- finely chopped parsley
- freshly minced garlic (the finer the better)
- grated parmesan
- salt
- black pepper
- dried oregano
- red pepper flakes
Make sure the garlic is really well minced — no chunky bits. You want it to melt into the butter and spread like a dream. And don’t skimp on the parmesan! It gives you that salty-savory umami profile that makes each bite so good.
The Best Bread for the Job
The absolute best bread for this recipe is shokupan, aka Japanese milk bread. It’s soft, fluffy, and thick enough to hold all the gooey cheese and crispy butter without falling apart. But if you can’t find it, don’t stress — the second-best option is any good white sandwich bread, the kind that’s soft and squishy but not too thin.
You’ll need:
- 12 slices total (2 per sandwich)
- Crusts on or off — totally your call!
How to Cut the Hasselback Top Just Right
Only the top slice of bread gets the Hasselback cut, and this is where the magic happens. Here’s how to do it:
- Take one slice of bread and start by slicing straight down the middle, only ⅔ to ¾ of the way through.
- Then, cut once on the left side of that center line, and once on the right — so you end up with three vertical slits.
- Rotate the bread 90°, and do the same thing: one center cut, one on each side.
- You’ll end up with 16 small squares on each slice of bread – 6 slices of bread total!
You’ll end up with a little criss-cross grid pattern on top, but the bread stays in one piece. When it bakes, the cuts will open up and get extra crispy, and you can tear off each little square for the ultimate cheesy bite.
Time to Assemble the Sandwiches
Grab a nonstick baking tray — no parchment needed unless your tray tends to stick. Start by brushing a little garlic butter directly onto the pan where each sandwich will go. Then:
- Lay down the bottom UNCUT slices of bread — 6 total
- Add 2 slices of cheese to each sandwich
- My go-to is one white American + one white cheddar, but use what you love
- If you don’t want it extra cheesy, only do 1 slice!
- Monterey Jack, mozzarella, or even a swipe of cream cheese totally works
- Top with the Hasselback-cut slices
- Brush the garlic butter all over the tops and sides — this is where all that crispy golden flavor comes from
Don’t be shy with the butter. This is garlic bread grilled cheese after all!
How to Bake (Or Air Fry!) Them to Perfection
Bake the sandwiches in a preheated oven at 375°F for 10 to 12 minutes. You’re looking for melted cheese, golden tops, and crispy edges. If your oven has hot spots, rotate the tray halfway through so everything bakes evenly.
Want to air fry instead? You totally can:
- Air fry at 350°F for 6 to 8 minutes
- Make sure the sandwiches are in a single layer and check them around the 5-minute mark
- Depending on your air fryer size, you might need to work in batches
Either way, you’ll get that golden garlic butter crisp without having to deep fry or do any stovetop flipping.
Tear, Dip, and Devour – The Best Part
Now for the fun part: rip off those little squares from the top slice and enjoy the cheese pull show. Dip each little square into:
- Tomato soup
- Marinara sauce
- Hot honey for a little sweet heat
Every bite has the perfect combo: crispy edges, gooey center, and that buttery, garlicky flavor you can’t resist. It’s warm, comforting, and addicting —like the grown-up, fancy, and elevated version of your favorite childhood snack.
Tips, Variations, and Make-Ahead Ideas
A few extra tips to make sure it turns out perfect:
- If your garlic butter starts to set while assembling, pop it in the microwave for 10 seconds to loosen it up
- Want a spicy twist? Add even more red pepper flakes to the butter
- Add some turkey pepperoni in there for a garlic bread pizza grilled chees
- Making ahead? Assemble the sandwiches and refrigerate until you are ready for baking
You could even prep these in the morning and bake them fresh for lunch — they taste just as good reheated in the air fryer too.
Craving More Quick and Easy Meals? Try These Recipes Out!
- Crab Rangoon Toast – A crispy, golden toast loaded with creamy crab filling, inspired by your favorite takeout appetizer
- Buffalo Cauliflower – Air-fried to perfection, these cauliflower bites are tossed in spicy buffalo sauce for an irresistible finger food
- Tuna Melt Hashbrowns – Crispy hashbrown patties stacked with melty cheese and a creamy tuna salad for a quick high protein lunch
- Zaatar Cheese Rolls – Soft, buttery rolls filled with gooey cheese and fragrant zaatar, baked until golden
- Onigiri with Spicy Tuna – Japanese rice balls stuffed with spicy tuna and wrapped in seaweed for the best handheld lunch
If you tried this recipe and loved it, drop by down below and let me know how you liked it with a rating and comment! Feel free to also leave a question there about this recipe and I’ll get right back to it.
To see more recipes and behind-the-scenes, follow along on Instagram and Youtube! I’m also now on Pinterest pinning away so stop by and see what’s up.
Criss- Cut Garlic Bread Grilled Cheese
Ingredients
GARLIC BUTTER
- 1/2 cup unsalted butter, melted
- 1 tablespoon finely chopped parsley
- 1 tablespoon minced garlic
- 3 tablespoons grated parmesan
- 1/4 teaspoon black pepper
- 1/4 teaspoon dried oregano
- 1/4 teaspoon red pepper flakes, more to taste
- 1/2 teaspoon salt
SANDWICH ASSEMBLY
- 12 slices white sandwich bread, Japanese milk bread or thick slices preferred
- 6 slices white American cheese
- 6 slices white cheddar cheese
Instructions
- Start by making the garlic butter. In a bowl, mix together the melted butter, finely chopped parsley, minced garlic, grated parmesan, black pepper, oregano, and salt until smooth and fully combined. Set aside.
- Take your 12 slices of white sandwich bread. For each sandwich, you’ll need one whole slice for the bottom and one criss-cut/hasselback slice for the top. To hasselback the top slice, start by making one vertical cut straight down the center just 2/3 to 3/4 of the way down. Then make one cut halfway between the center and the left edge, and another cut halfway between the center and the right edge—this gives you three evenly spaced vertical cuts. Turn the bread 90 degrees and repeat the same process horizontally. Make sure to slice only about 2/3 to 3/4 of the way down so the bottom of the bread stays intact and you get that perfect grid on top without the slice falling apart.
- Grab a nonstick baking tray and lightly brush the surface with some of the garlic butter. Place 6 of the whole bread slices directly on the tray. On each slice, layer one slice of white American cheese and one slice of white cheddar cheese. You can stack them or slightly overlap.
- Top each sandwich with one of the hasselbacked slices. Press it down gently so it sits evenly on the cheese. Use a pastry brush or spoon to generously coat the top and all sides of the bread with garlic butter, making sure it gets into every cut and edge.
- Bake at 375°F for 10 to 12 minutes, until the cheese is melted and the tops are golden and crisp. For extra browning, broil during the last 1 to 2 minutes—just keep a close eye so it doesn’t burn.
- Let cool for a minute, then slice and serve warm.
Notes
A: The best bread for this is shokupan, or Japanese milk bread. It’s soft, slightly sweet, and slices beautifully for that perfect hasselback cut while staying tender inside and crisping up on the outside. The second best option is any classic white sandwich bread you already have on hand—it still works great and gets deliciously crispy! Q: How do I make the hasselback cuts without slicing all the way through the bread?
A: Use a serrated knife and cut gently. Start by cutting vertically down the center, then make one cut between the center and the left edge, and one between the center and the right edge. Turn the bread 90 degrees and repeat. Cut about 2/3 to 3/4 of the way down so the slices stay connected at the base. Q: Do I need to line the tray with parchment paper?
A: If you’re using a nonstick tray, you don’t need parchment. But if your pan tends to stick or you want easier cleanup, feel free to line it with parchment paper. It does crisp up bettter on the bottom without parchment paper though. Q: What cheeses work best?
A: A mix of white American and white cheddar gives the best melty, creamy center with just the right flavor. You can also use mozzarella, Monterey Jack, or even cream cheese for a different texture. Q: Can I prep these ahead of time?
A: Yes! You can assemble the sandwiches a few hours in advance and keep them in the fridge covered until ready to bake. Q: Why did my top bread get too dark or crispy?
A: Ovens vary, and the garlic butter can brown fast. Keep an eye during the last few minutes and skip or shorten the broil if needed. You can also try baking them on a lower rack in your oven. Q: Can I make these in the air fryer?
A: Yep! Air fry at 350°F for 5 to 7 minutes, depending on your machine. You might need to work in batches depending on size.
Did You Make This Recipe?
If you make this recipe, leave a comment below and let me know how it turns out. I love hearing from you!


Rate & Review