Detroit-Style Pizza
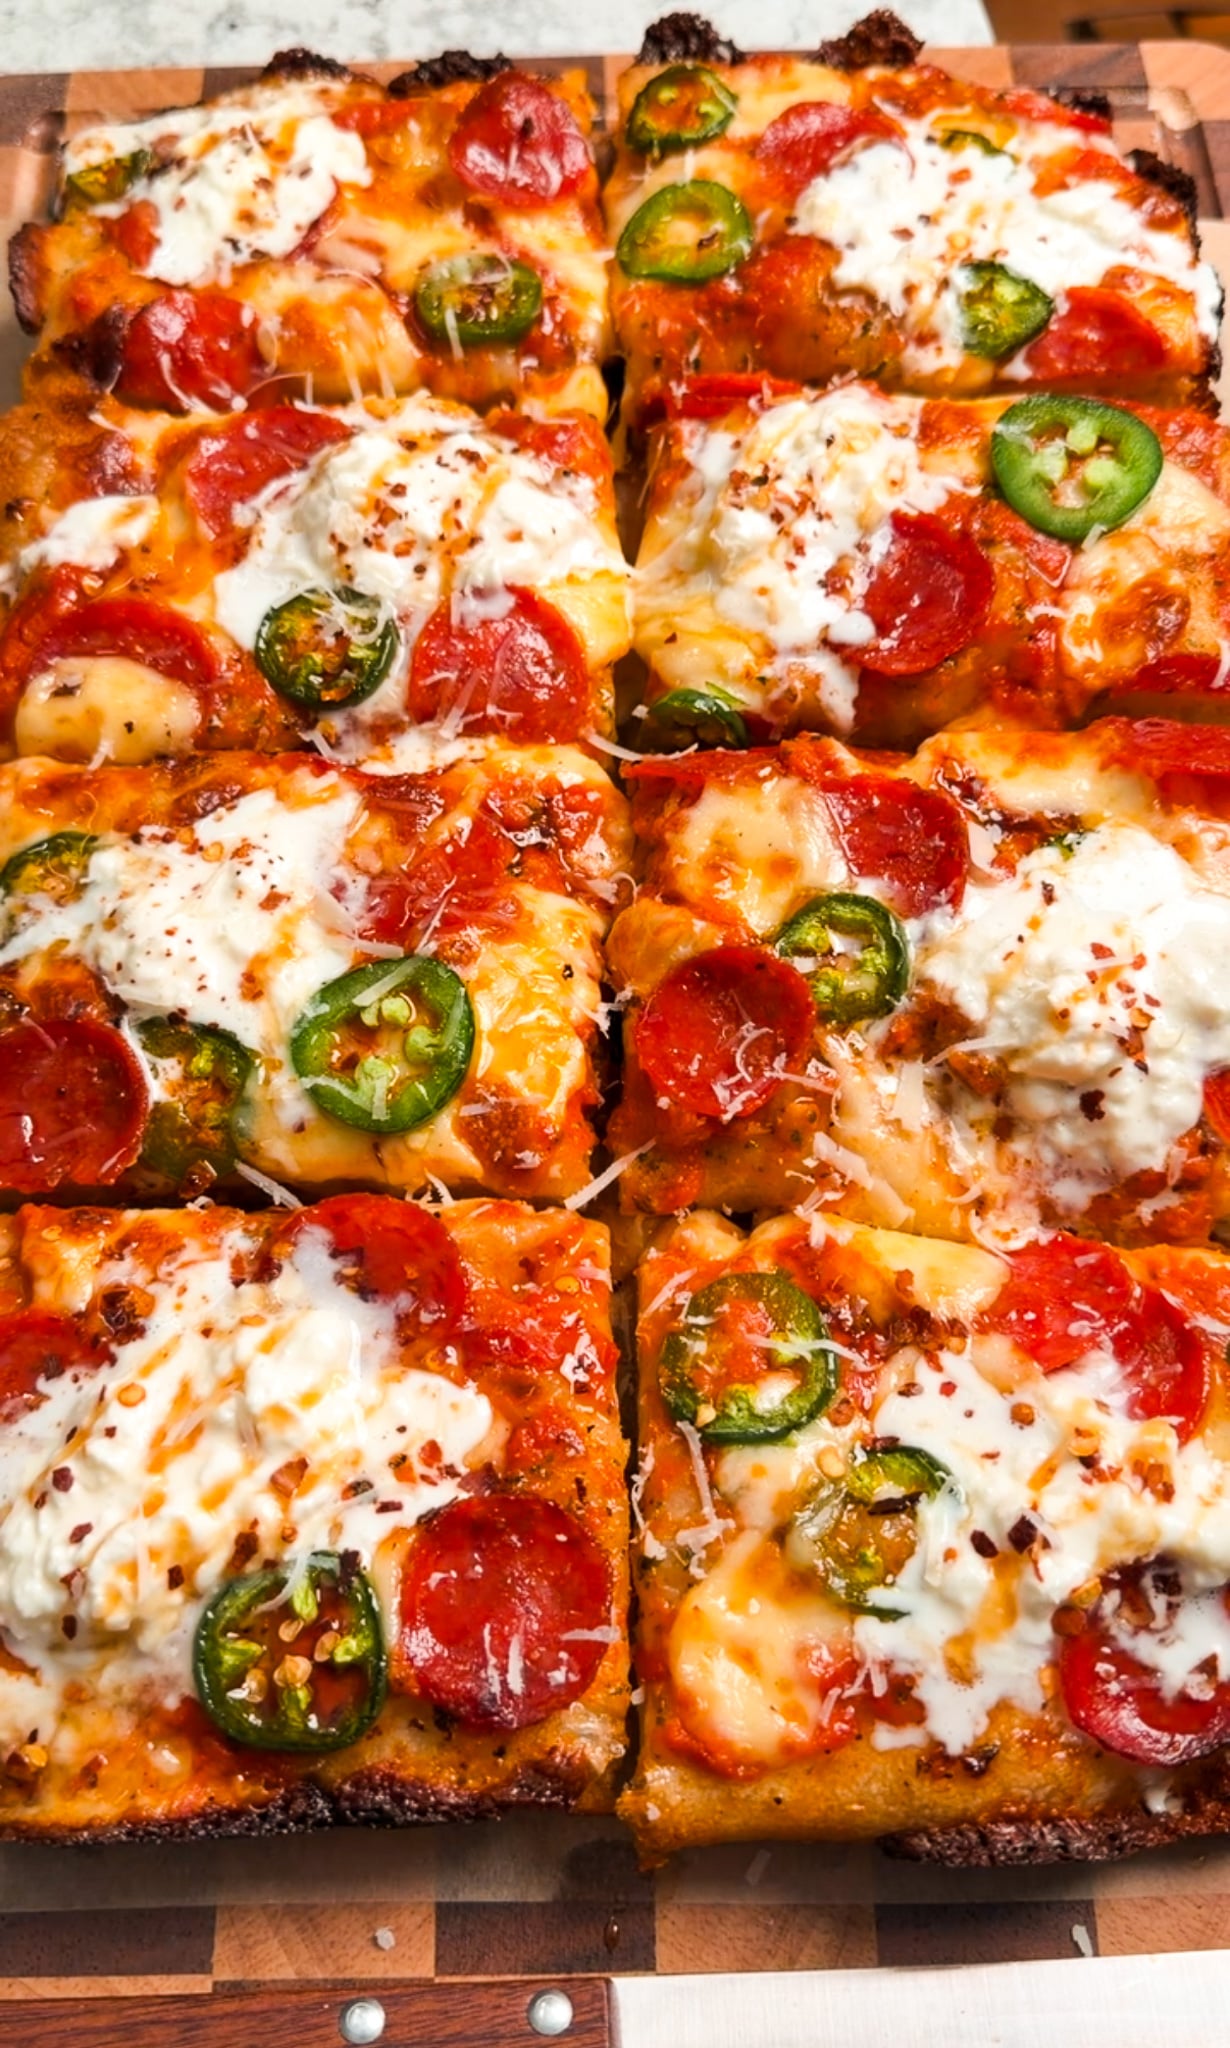
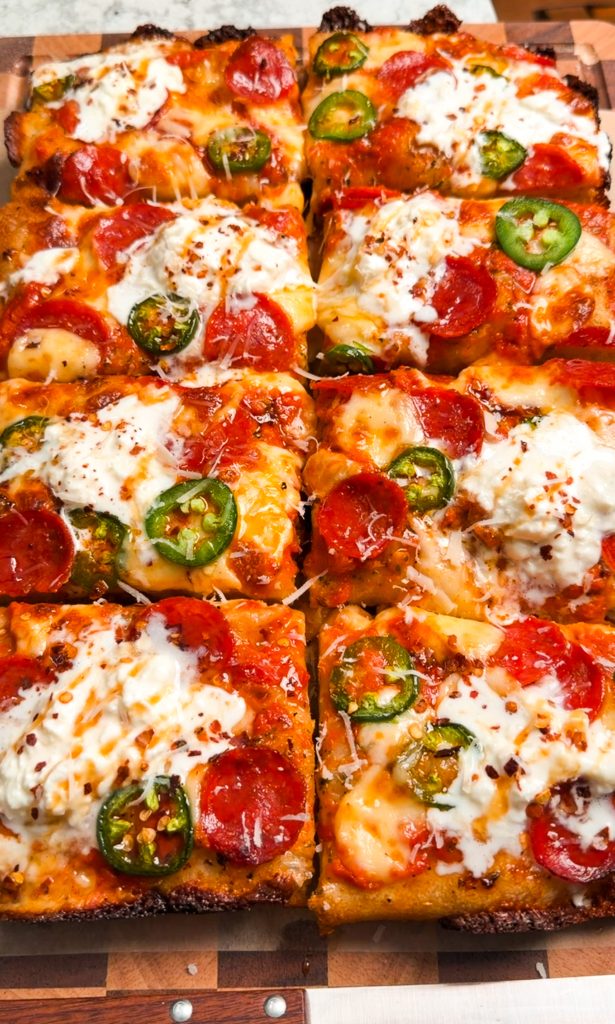
Detroit-style pizza is a work of art and I’ve been determined to get my recipe better and better every year! It’s thick, almost focaccia-like in height, but lighter and airier than it looks. The bottom crisps deeply, the edges caramelize with cheese, and the interior stays soft and structured instead of dense. Finished with stracciatella and a drizzle of hot honey, it hits creamy, crispy, savory, and sweet all at once. Let’s get into the technique!
Why Detroit-Style Pizza Is Different
Unlike New York style pizza or Neapolitan, Detroit-style is a thicker dough with a super crispy undercarriage. It’s more similar to focaccia than some pizzas as it’s also rectangular shaped instead of circular. It also traditionally uses brick cheese and the sauce goes on top of the cheese.
To sum it up, this is what sets it apart:
- Thicker dough — taller than traditional pizza, almost like focaccia but with more chew
- Rectangular pan baking — straight-sided metal pan encourages edge caramelization
- Cheese to the edges — that crispy, lacy cheese crust is intentional
- Brick cheese tradition — traditionally melted into the corners
- Flexible sauce placement — underneath or striped on top
The texture contrast is the entire experience: crispy bottom, airy interior, crunchy cheese edges. It’s engineered texture.
The Equipment That Actually Matters
You don’t need specialty tools, but a few things make a noticeable difference.
Detroit-style pan: This is the most important piece. A straight-sided metal pan (commonly 8×10 or 10×14 inches) allows the cheese to melt down the sides and crisp against the metal. The size controls thickness — a smaller pan gives you a taller, thicker pizza. A heavy pan conducts heat more evenly and promotes better browning. I recommend LloydPans for consistent caramelized edges and easy release.
Pizza steel (optional but powerful): A pizza steel stores heat more efficiently than a stone. When your pan sits on it, you get:
- Stronger oven spring
- A crispier bottom crust
- More aggressive heat transfer
If you want a restaurant-style bottom, this helps. If you don’t have one, baking directly on the bottom rack still works beautifully.
Wire rack: This is non-negotiable. Once the pizza comes out of the oven, steam forms underneath. If it stays in the pan, the bottom softens. A wire rack preserves the crisp.
Stand mixer (optional): Convenient, but not necessary. This dough doesn’t rely on kneading.
The Dough: Simple Ingredients, Smart Timing
The dough is flour, yeast, sugar, water, salt, and optional, diastatic malt powder.
Mix everything except the salt until just combined. No kneading required. The dough should be slightly sticky but manageable. Start with 1 cup of water and add more one tablespoon at a time if needed.
Cover and let it rest for 20 to 30 minutes. This rest hydrates the flour and begins gluten formation naturally. It improves extensibility and structure without effort. After resting, sprinkle in the salt.
Here’s the science:
- Salt strengthens gluten
- Salt inhibits fermentation
- Salt tightens the dough structure
Adding salt later allows gluten strands to begin forming before tightening the network.
That said, you can absolutely add everything at once if you’re short on time. The pizza will still turn out great. That’s the beauty of dough — there’s the optimized method and the practical method. Both work.
Stretch and Folds Instead of Kneading
Instead of kneading, perform 3 to 4 sets of stretch and folds every 30 minutes. Lightly brush your hands with neutral oil so the dough doesn’t stick.
Each set:
- Grab one side of the dough
- Gently stretch upward without tearing
- Fold it over itself
- Rotate the bowl
- Repeat on all four sides
Each round takes about 30 seconds. Cover and return the dough to a warm spot between sets. I like putting it in the oven turned off with just the light on.
This gradual strengthening builds a stable gluten network and creates:
- Larger air pockets
- A lighter interior
- Structure without density
Into the Pan and the Long Proof
After the final stretch and fold, transfer the dough directly into your oiled Detroit pan. Press gently toward the edges. If it springs back, let it rest 10 to 15 minutes and try again. Forcing it can tear the gluten you just built.
Let it proof in the pan for 1 to 2 hours, until doubled and visibly airy.
About halfway through this pan proof, preheat your oven to 500°F. If using a pizza steel, place it on the bottom rack so it has at least 30 minutes to fully heat. This longer pan proof is what gives you that tall, almost focaccia-like structure.
Garlic Butter and Sauce Strategy
Brush garlic butter over the dough before adding sauce. It builds flavor directly into the crust and helps with browning.
For the sauce, I mix marinara with a little heavy cream for smoothness.
You have two authentic options:
- Spread sauce first, then cheese and toppings
- Or add cheese first and stripe the sauce on top for the traditional Detroit look
There’s no wrong choice. Just different layering.
The Cheese Technique
Traditional Detroit-style pizza uses brick cheese.
We substitute with:
- Low-moisture mozzarella for stretch and browning
- Monterey Jack for smooth melt and creaminess
Cut the cheese into tiny cubes instead of shredding. Cubes create pockets of melt instead of a flat blanket.
Place cheese evenly across the surface and make sure to add some along the edges of the pan. That contact with metal creates the crispy caramelized cheese crust.
Baking and Reading the Pizza
Bake at 500°F for about 14 minutes. Place the pan directly on the bottom rack or on your preheated pizza steel if using.
You’re looking for:
- Deep golden cheese
- Crispy, caramelized edges
- A firm bottom crust
If the edges brown too quickly, next time add some of the edge cheese halfway through baking instead of at the beginning.
Finishing It Properly
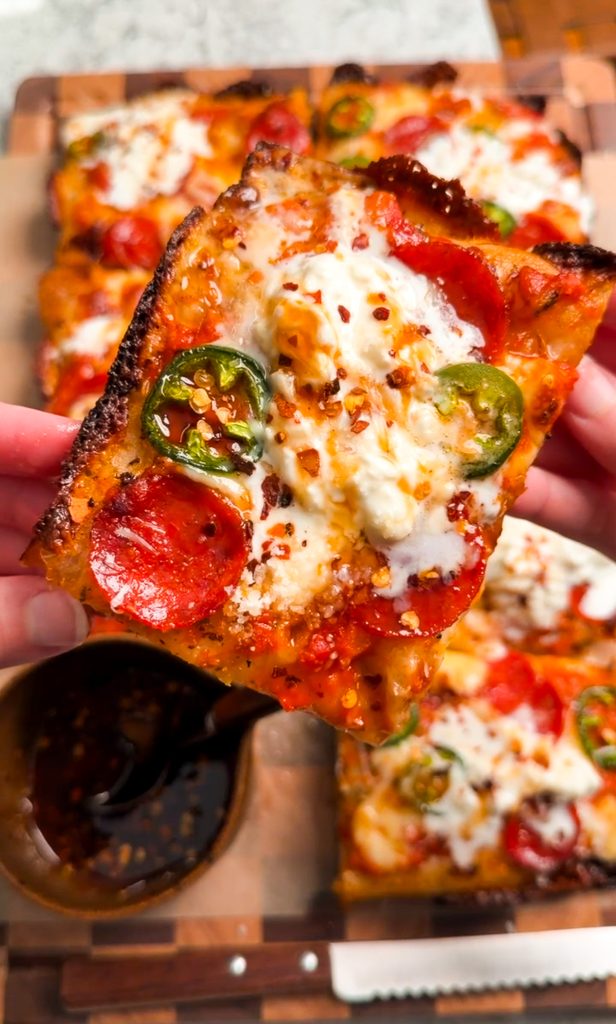
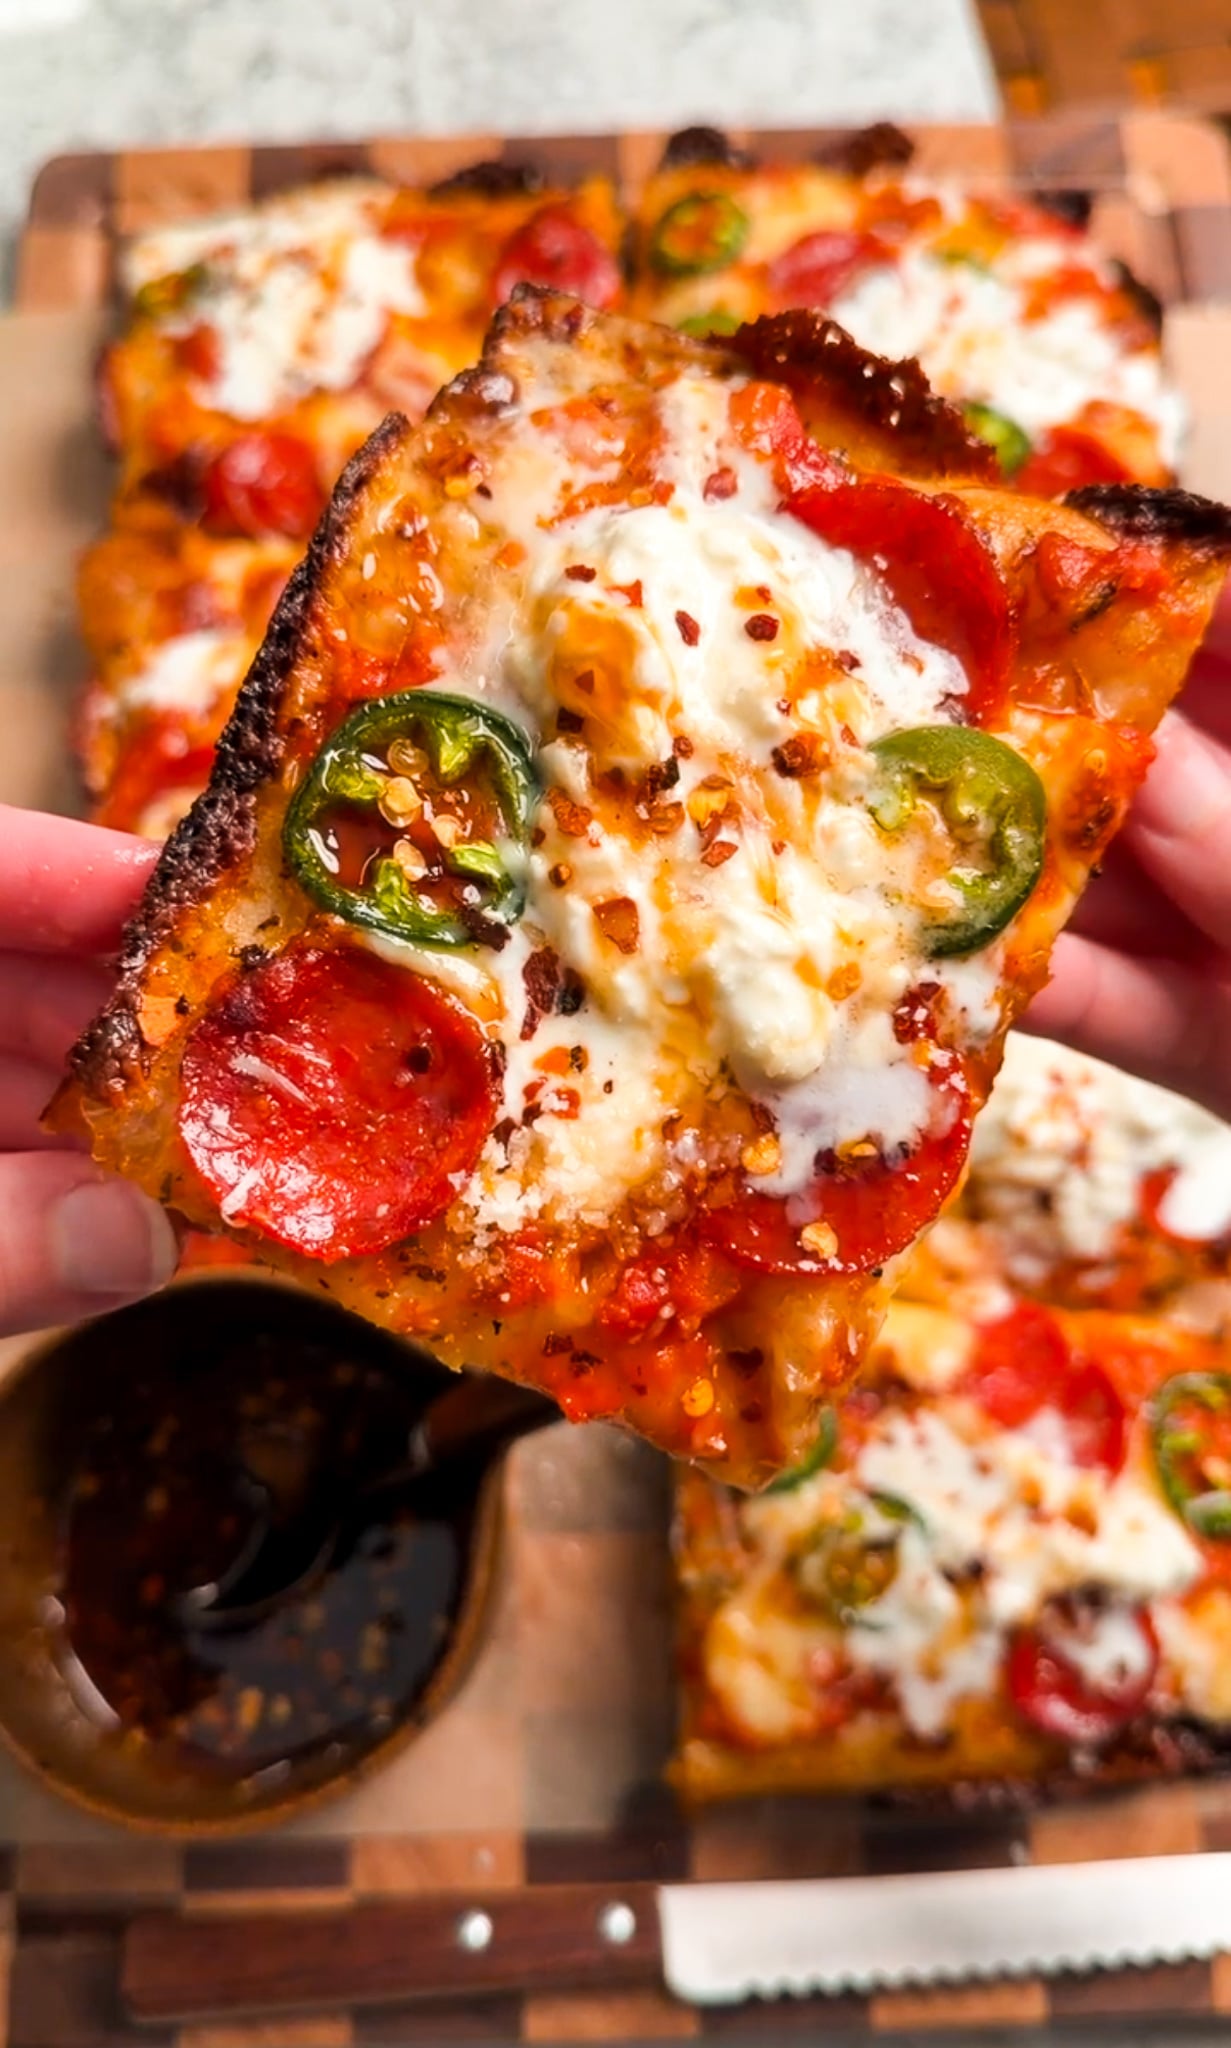
As soon as it comes out of the oven, remove the pizza from the pan and transfer it to a wire rack. Let it cool slightly so the structure sets and the bottom stays crisp. Slice. Top each piece with a spoonful of stracciatella and a drizzle of hot honey.
Adding stracciatella after baking keeps it cool and creamy instead of melting away in the oven. The hot honey hits the salty cheese and balances everything.
Final Notes and Adjustments
- You can use all-purpose flour. Bread flour just gives more chew and stronger structure.
- Want it thicker? Use a smaller pan.
- Want deeper browning? Add diastatic malt powder. It enhances oven spring and crust color.
Craving More Bread? Try These Recipes Out!
If you make this recipe, make sure to leave a comment below and let me know how it turns out — I love hearing from you! And if you snap a photo, don’t forget to tag me over on Instagram or TikTok so I can see your creations too.
You can also find this recipe and so many more on my Pinterest — perfect for saving to your board for later. And if you’re more of a visual learner, check out my YouTube channel, where I walk you through recipes step-by-step just like this one.
Dinner | Main Course
Detroit Style Pizza
Ingredients
THE DOUGH
- 2 1/4 cups bread flour
- 1 teaspoon instant yeast
- 1 teaspoon granulated sugar
- 1 teaspoon diastatic malt powder (optional)
- 1 to 1 1/4 cups lukewarm water
- 1 1/2 teaspoons salt
FOR THE PAN
- 1 tablespoon neutral oil
GARLIC BUTTER
- 1/4 cup unsalted butter, melted
- 1 teaspoon minced garlic
- 1 tablespoon chopped parsley
- 1/2 teaspoon dried oregano
- 2 tablespoons parmesan
- 1/2 teaspoon black pepper
- Pinch of salt
SAUCE
- 1/2 cup marinara sauce
- 2 tablespoons heavy cream
TOPPINGS
- Jalapeño slices
- Beef or turkey pepperoni
- 4 ounces low-moisture mozzarella, cut into tiny cubes
- 4 ounces Monterey Jack, cut into tiny cubes
- Stracciatella (the creamy burrata filling)
- Hot honey
Instructions
PREPARE THE DOUGH
- In a large bowl, combine bread flour, instant yeast, sugar, and diastatic malt powder if using.
- Add 1 cup lukewarm water and mix until the dough just comes together. Kneading is not necessary. The dough should be slightly sticky but not unmanageable. If it feels dry, add more water 1 tablespoon at a time. You can also use a stand mixer fitted with a hook attachment and mix just until combined.
- Cover and let the dough rest for 20 to 30 minutes.
- Sprinkle the salt over the dough. With slightly wet hands, pinch and fold the dough repeatedly until the salt is fully incorporated. Cover again and place in a warm spot. I like keeping it in the oven turned off with just the oven light on.
- Perform 3 to 4 sets of stretch and folds every 30 minutes. Lightly brush your hands with a little neutral oil to prevent sticking. Grab one side of the dough, gently stretch it upward without tearing, then fold it over itself. Rotate the bowl and repeat on all four sides. Each set should take about 30 seconds. Cover and return it to the warm spot between each set.
MAKE THE GARLIC BUTTER
- In a small bowl, mix melted butter, minced garlic, parsley, dried oregano, parmesan, black pepper, and a pinch of salt until combined.
ASSEMBLY AND BAKING
- Grease your pan with 1 tablespoon neutral oil.
- Transfer the dough directly into the pan after the final stretch and fold. Gently press it toward the edges. If it resists, let it rest 10 to 15 minutes and press again.
- Let the dough proof in the pan for about 1 to 2 hours, until doubled and very airy.
- About halfway through the pan proof, optionally place a pizza steel on the bottom rack of your oven and begin preheating to 500°F so it has a full 30 minutes to heat thoroughly.
- Mix the marinara sauce and heavy cream together until smooth.
- Brush the top of the dough lightly with the garlic butter.
- Spread the marinara cream sauce evenly over the dough. For a more authentic Detroit-style option, you can instead add the sauce on top of the cheese in stripes after the cheese is added.
- Scatter the cubed mozzarella and Monterey Jack evenly over the top, placing some cheese along the edges of the pan as well for crispy corners.
- Add beef or turkey pepperoni and jalapeños.
- Place the pan directly on the bottom rack or on the fully preheated pizza steel if using. Bake for about 14 minutes, or until the cheese is deeply golden and the edges are crisp and caramelized.
- Remove from the oven and carefully transfer the pizza out of the pan onto a wire rack. Let cool slightly so the bottom stays crisp.
- Slice and top each piece with a spoonful of stracciatella and a drizzle of hot honey. Enjoy warm.
Tips & Notes
Q: What pan should I use for Detroit-style pizza?
A: I highly recommend using a LloydPans Detroit-style pan for the best results. It gives you those signature crispy, caramelized edges. If you prefer a slightly thicker pizza, I recommend using LloydPans' 8 x 10 size.
Q: What is a pizza steel and do I need one?
A: A pizza steel is a thick slab of steel that retains and transfers heat more efficiently than a stone, helping create strong oven spring and a crisp bottom crust. It’s completely optional. If you’d like to use the one I use, you can purchase it here. If you don’t have one, bake directly on the bottom rack or use a pizza stone.
Q: Can I use all-purpose flour instead of bread flour?
A: Yes, you can use all-purpose flour. The crust will still turn out great, but bread flour provides a chewier texture and better structure due to its higher protein content.
Q: Why use both mozzarella and Monterey Jack?
A: Detroit-style pizza is traditionally made with brick cheese. The combination of low-moisture mozzarella and Monterey Jack is a great substitute if you can’t find brick cheese. Mozzarella gives you stretch and browning, while Monterey Jack melts smoothly and adds creaminess. Some people also like to mix in a little Muenster for extra richness.
Q: How do I make it thicker?
A: If you want a thicker, taller pizza, use a smaller pan so the dough sits higher and rises more during proofing and baking. Instead of the 10x14 size, use 8x10.
Q: Why did my cheese burn around the edges?
A: If your oven runs hot or the cheese browns too quickly, bake the pizza for 7 to 8 minutes first, then add additional cheese around the edges and return to the oven to finish baking.
Q: What is diastatic malt powder and do I need it?
A: Diastatic malt powder improves browning and oven spring for a better crust. It’s optional but recommended for bakery-style results.
You Might Also Like



HI, I’M HAJAR
Welcome to Moribyan! This is my blog where I love to share all my favorite recipes and lifestyle tips with you all. If I’m not cooking here, I’m either at Trader Joe’s, the gym, or eating a bagel.
LET’S CONNECT
Pin This Recipe